
Bathroom Design Guide: How to Create a Beautiful and Functional Bathroom
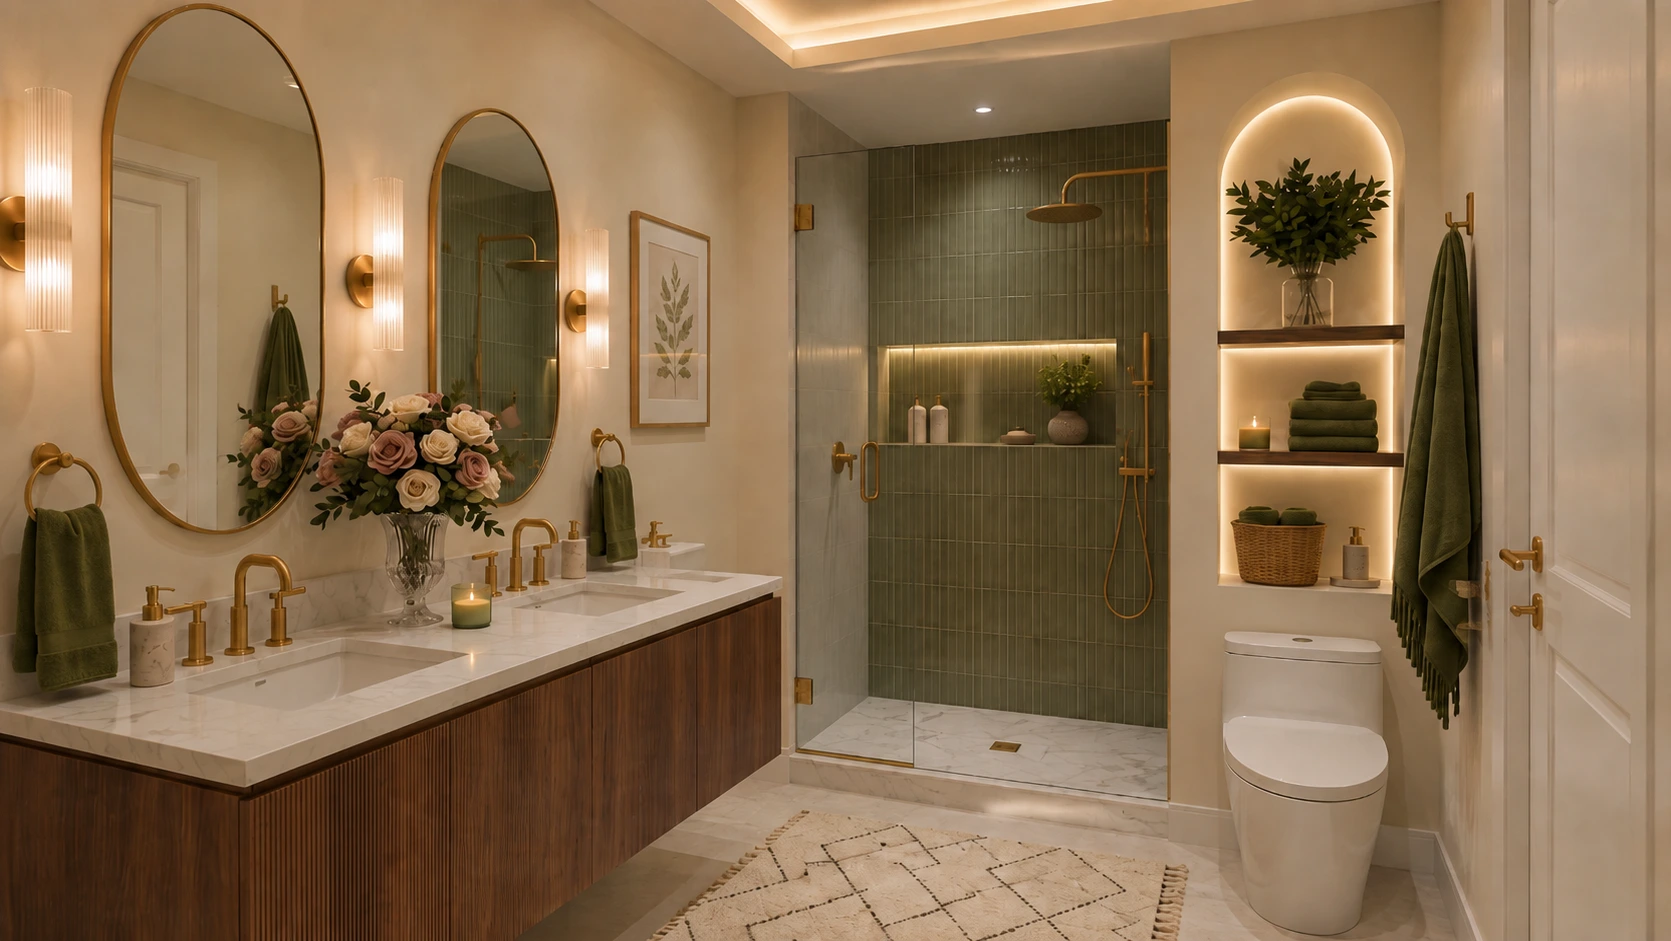
A successful bathroom should feel good at 7 a.m. on a busy weekday and still feel relaxed at the end of the day. It needs to manage water, humidity, storage, lighting and daily traffic while also supporting the style of the home. That combination of beauty and performance is what turns a collection of attractive products into a well-designed bathroom.
Recent industry research shows that homeowners are asking bathrooms to do more. The National Kitchen & Bath Association's 2026 Bath Trends Report describes bath design as increasingly personal, with wellness, technology, storage and lifestyle shaping the room. Houzz's 2025 U.S. Bathroom Trends Study found that 36% of renovated bathrooms included wellness-oriented features, while 68% of homeowners considered special needs in their projects. The message is clear: a bathroom renovation is not only about choosing a tile you love; it is about designing a room that will work comfortably for years.
If you are beginning a bathroom remodel, use the decisions below as a planning sequence. Start with function and wet-area performance, then build the visual palette around materials that suit the way the room will actually be used.
1. Start With the People, Routines and Priorities
Before you choose a floor tile, vanity color or faucet finish, define how the bathroom needs to function. A primary bathroom used by two adults has different priorities from a guest bath, powder room, children's bath or an aging-in-place renovation.
Write down the routines that happen in the room. Do two people get ready at the same time? Is counter space more valuable than a second sink? Do you need enclosed storage for medicine, hair tools or cleaning products? Is a bathtub genuinely used, or would a larger shower provide more value? Do you want the room to feel energizing in the morning, quiet at night, or both?
This early conversation prevents an expensive mistake: designing around what a bathroom is supposed to contain instead of how the household actually lives. NKBA's 2026 survey reinforces this shift. More than half of respondents said a larger shower is becoming more important than having a bathtub in the primary bath, while personalized storage and wellness features continue to gain attention. That does not mean every tub should disappear; it means each fixture should earn its place in the layout.
- Who uses the bathroom and at what times?
- Single or double vanity?
- Walk-in shower, tub, or both?
- How much closed storage is needed?
- Which items need outlets or charging inside cabinetry?
- Are there mobility or future-accessibility considerations?
- What is the realistic cleaning and maintenance tolerance?
2. Plan the Layout Before Falling in Love With Materials
Good circulation is one of the quiet differences between a bathroom that photographs well and a bathroom that is genuinely pleasant to use. Plan door swings, drawer clearances, shower entry, toilet privacy, towel locations and walking paths before finalizing product sizes.
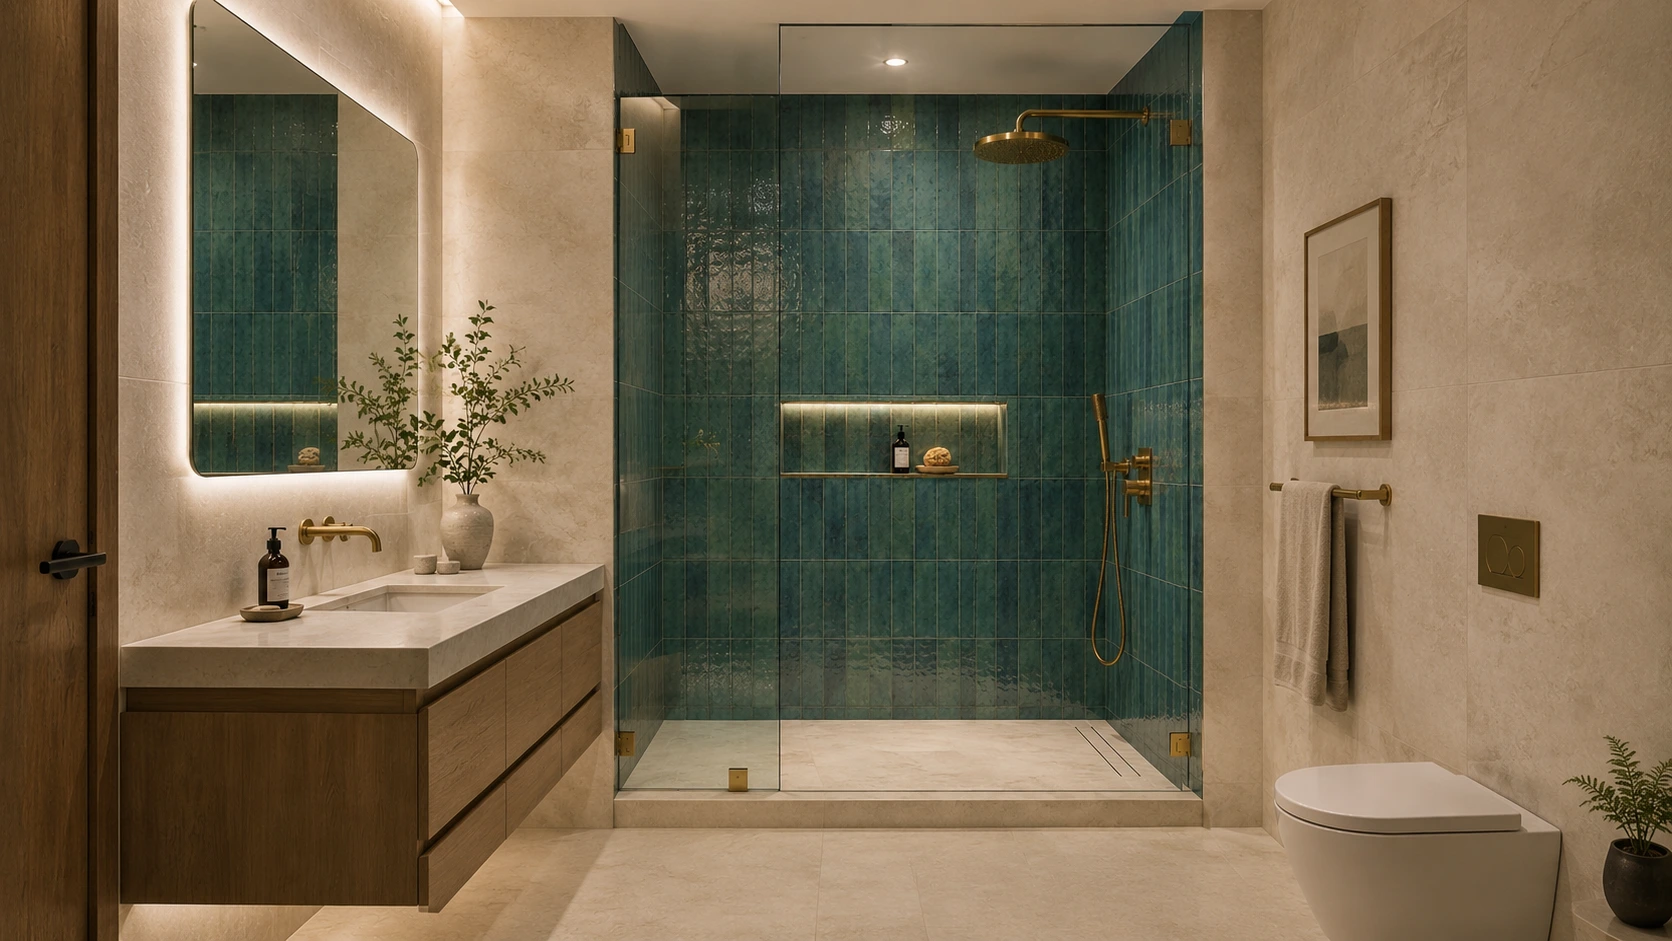
In a smaller bathroom, keeping major plumbing locations may help control the scope and cost of work. In a larger renovation, changing the layout can be worthwhile when it solves a persistent problem such as a cramped shower, poorly placed vanity, blocked window or awkward door swing. Any plumbing, electrical or structural changes should be reviewed by the appropriate qualified professional and checked against local requirements.
Think about the room in zones: dry grooming/storage, wet shower or tub, toilet, and circulation. Then test whether two people can use the space without competing for the same narrow pathway. For a long-term home, it is also worth asking whether a low-threshold or curb less shower, a bench, wider entry, better lighting or blocking for future grab bars can be incorporated elegantly now rather than added reactively later.
3. Treat Waterproofing and Ventilation as Design Decisions
The most important bathroom materials are sometimes the ones you never see after installation. Tile is a finish surface; the complete wet-area assembly is what manages water. The Tile Council of North America (TCNA) specifically notes that grout joints are not waterproof and that wet areas such as showers rely on the selected installation method and substrate to protect adjoining construction from water.
That means shower waterproofing should be specified as a system, not assumed because a tile is labeled porcelain or because the grout looks dense. The shower pan or receptor, membrane, drain connection, wall backing, transitions, penetrations and installation products all need to work together according to the chosen system and manufacturer instructions.
Ventilation matters for the same reason. Hot showers add moisture to indoor air, and ENERGY STAR notes that adequate ventilation helps control moisture and odors. A properly selected bathroom exhaust fan should vent to the outdoors and be installed so it can deliver its intended airflow. The fan is not a decorative afterthought; it is part of how the bathroom performs.
|
TECHNICAL DESIGN NOTE Do not describe tile or grout alone as a complete waterproofing system. For showers and other wet areas, follow the selected TCNA/ANSI method, manufacturer instructions and local code requirements. Coordinate waterproofing, drain type, shower slope, niches, benches and curbs before tile installation begins. |
4. Choose Bathroom Flooring for Wet Use, Maintenance and Scale
Bathroom flooring has to do several jobs at once. It should coordinate with the overall palette, tolerate routine water exposure, clean reasonably easily and provide suitable traction for the way the space will be used.
Porcelain tile is a common bathroom choice because of its low water absorption, durability and range of looks, including stone, limestone, travertine, terrazzo, concrete and wood-inspired designs. But appearance alone should never determine suitability. Check the manufacturer's intended-use classification for the specific product and finish.
ANSI A326.3 classifies hard surface flooring for different use conditions. For level interior areas expected to be walked on when wet, the Interior Wet category uses a wet DCOF of 0.42 or a manufacturer-declared classification. Shower floors are more nuanced: the standard does not assign one universal DCOF cutoff because tile size, drainage, grout joints, surface texture and barefoot use all affect suitability. In practical terms, choose shower-floor products specifically recommended for that application and confirm the complete assembly with the installer or specifier.
Scale also affects the room visually. NKBA's 2026 research found strong industry expectations for large-format flooring and fewer grout lines, reflecting homeowners' interest in easier upkeep and a calmer visual field. Large-format tile can work beautifully in small or large bathrooms when the layout, cuts, flatness and drainage conditions are appropriate.
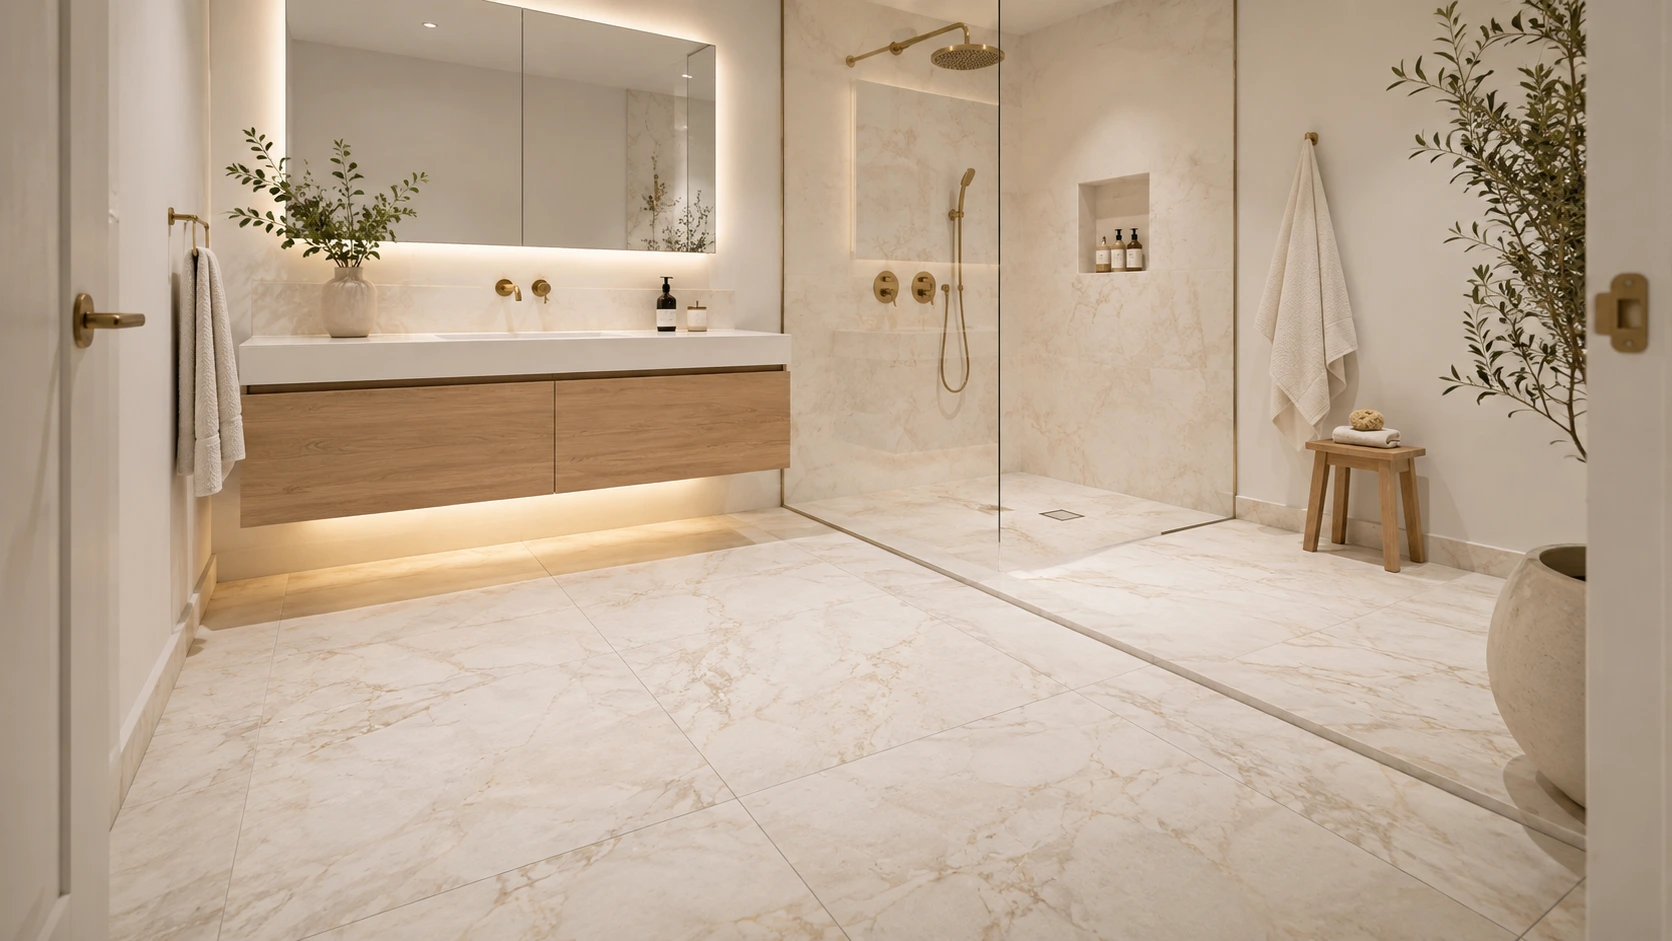
5. Design the Shower as a Complete System
The shower often becomes the visual focal point of the bathroom, but it is also the most demanding wet zone. Design it from the drain outward rather than selecting wall tile first and resolving the details later.
Begin with the shower footprint, entry type, curb or curbless condition, drain location and slope. Then determine the wall tile, shower-floor tile, niche, bench or ledge, plumbing locations and glass. A large tile on the walls can create a quieter look with fewer grout lines, while a smaller mosaic or small-format floor tile may be useful because it follows the slope and introduces more grout joints. Suitability still depends on the product and installation, so do not assume that small tile automatically makes a floor safe.
For visual interest, choose one main moment. It could be a textured shower wall, a beautifully framed niche, a distinctive shower-floor mosaic or a slab-like large-format surface. When the floor, walls, niche and hardware all compete for attention, the shower can feel smaller and busier than it is.
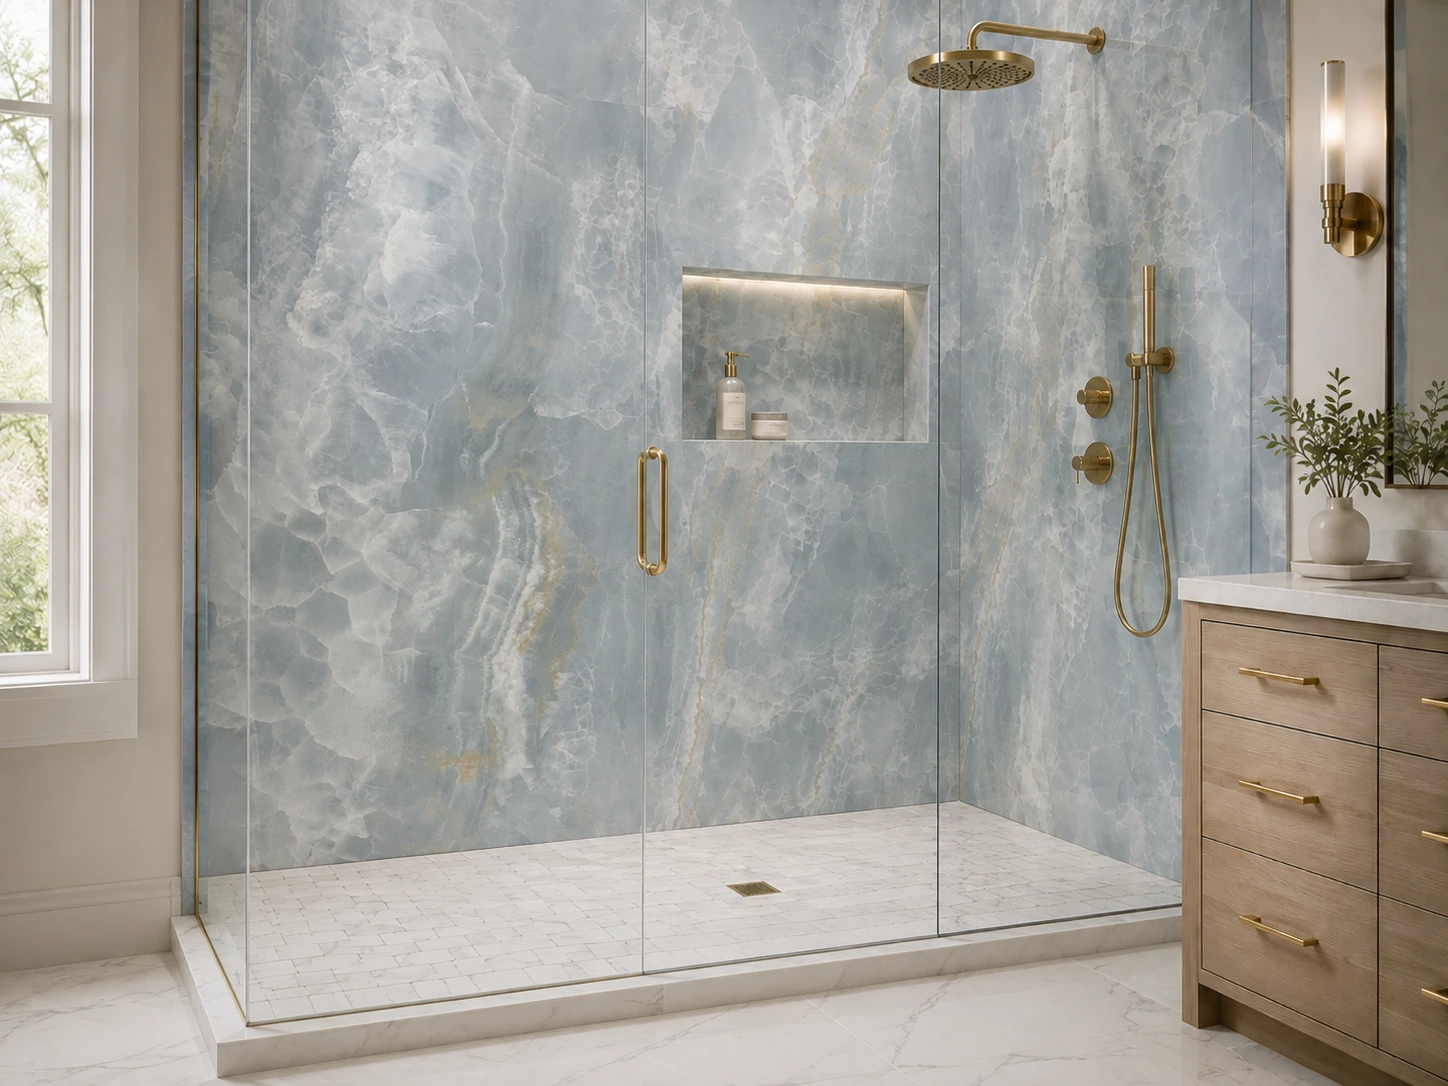
6. Build a Material Palette Instead of Shopping One Product at a Time
Many bathroom design problems begin with a series of individually beautiful choices. The floor looks great on one display. The countertop looks great under another light. The vanity color looks perfect online. Then the samples meet and the undertones fight each other.
Build the bathroom as a material palette. Put the main floor, shower wall, shower floor, vanity finish, countertop, backsplash or accent tile and metal finish together before ordering. Look at the group from a few feet away as well as close up.
Start by identifying the visual leader. If the shower tile has strong movement, let the countertop and floor become quieter. If the vanity is a rich color or warm wood, choose tile that supports it rather than introducing another unrelated undertone. Matching is not the goal; coordination is.
Current bath research supports a warmer, more natural direction. NKBA's 2026 report found light neutrals dominant, with sage and olive among the more prominent green families and wood-faced vanities expected to remain strong. These are useful signals, but they should be treated as a palette direction rather than a rule. The most durable design is the one that belongs to the house and the homeowner.
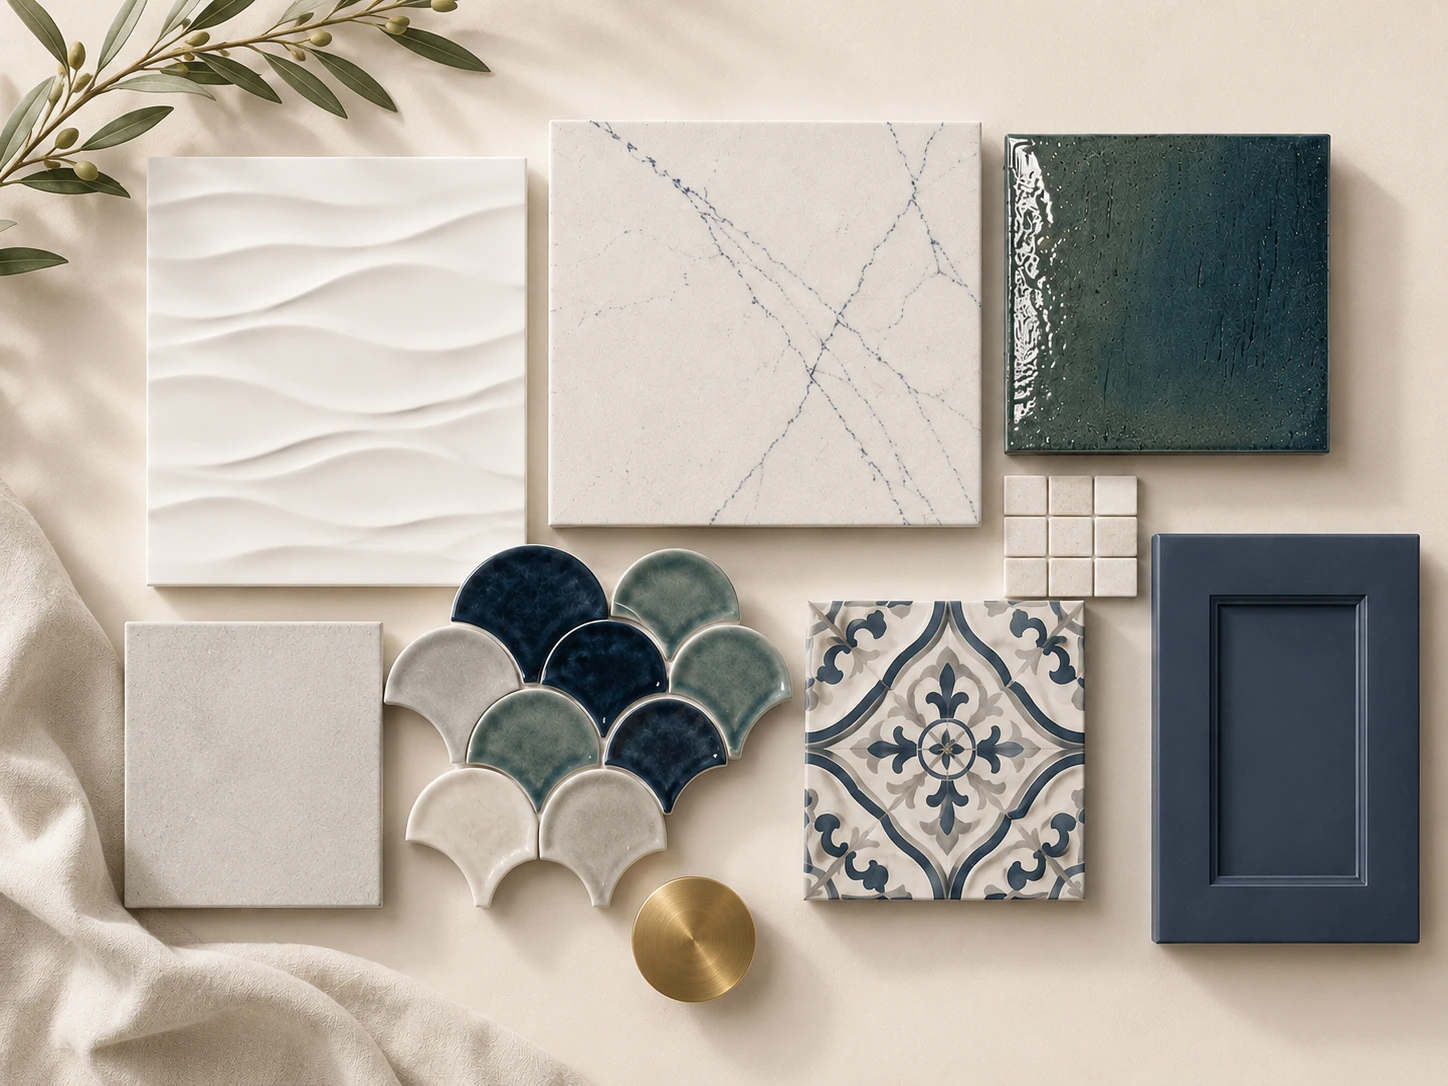
7. Choose the Vanity Around Storage, Not Only Sink Count
The vanity has a major visual presence, but its day-to-day value comes from storage and counter organization. Before deciding between single and double sinks, list what needs to be stored and how often each item is used.
Drawers are often easier to organize than deep door cabinets because items remain visible and accessible. A tall tower can add useful vertical storage when wall space allows. Consider dedicated spaces for hair tools, makeup, medicine, towels and cleaning items, plus safe electrical integration where appropriate. NKBA's 2026 report specifically highlights item-specific storage, organizers and integrated charging as growing parts of bath cabinetry planning.
Then choose the cabinet to finish. Natural wood can bring warmth to stone and porcelain; painted green, blue, cream or warm neutral cabinetry can become the room's main color. Floating vanities can visually open the floor area, while furniture-style or built-in cabinetry can provide a more grounded look. The right choice depends on the architecture, storage requirements and installation conditions.
8. Coordinate the Countertop, Backsplash and Sink as One Composition
The vanity top sits between cabinetry, wall finish, plumbing and mirror, so it should be selected as part of that full composition. Bring the cabinet sample and tile to the countertop selection rather than evaluating a surface in isolation.
Quartz is frequently chosen for bathrooms because it offers consistent patterns and straightforward routine care. Natural stone can provide unique movement and character, but maintenance needs vary by stone type and finish. Whatever surface you choose, confirm fabrication details, edge profile, sink type, faucet configuration and splash height early enough to coordinate with plumbing and mirror placement.
A backsplash can disappear quietly into the palette or become a deliberate feature. If the countertop already has strong veining, a simple backsplash often gives it room to breathe. If the vanity wall is otherwise calm, a textured or handmade-look tile can add depth without taking over the entire bathroom.
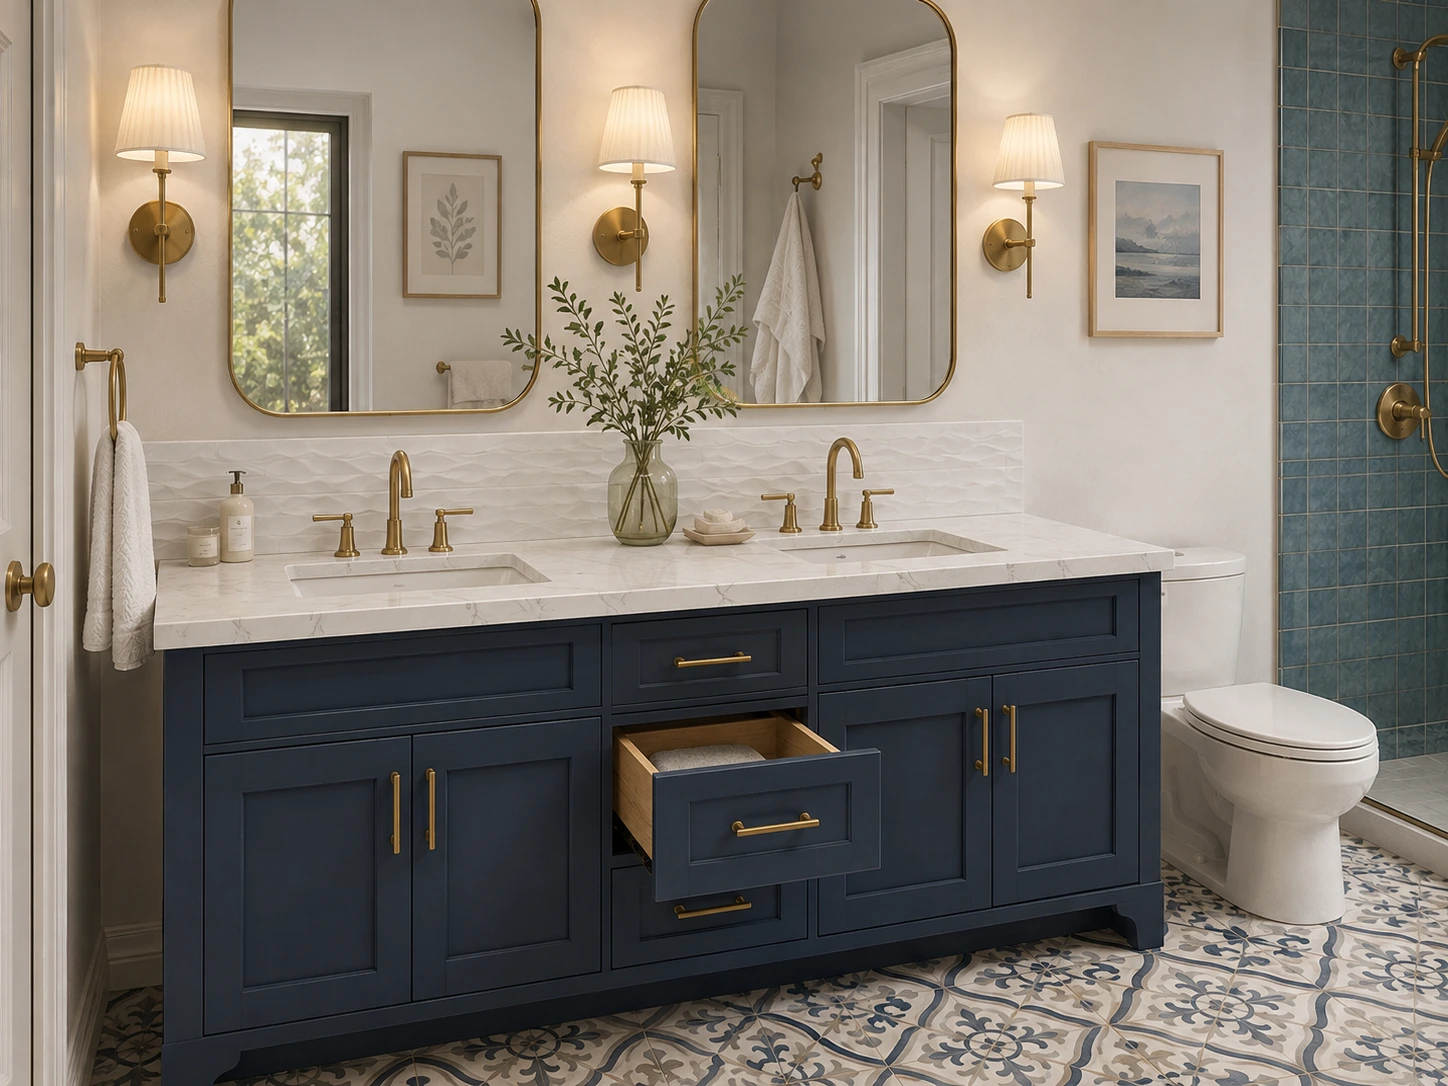
9. Layer the Lighting
Lighting affects how the bathroom functions and how every material reads. A warm beige tile can appear gray under one lamp and creamy under another. A vanity can look flat if light comes only from a ceiling fixture.
NKBA's 2026 report found that 91% of respondents consider lighting quality a top bath-design priority, with task lighting, natural light and nighttime-specific lighting receiving strong support. A practical lighting plan usually includes several layers: general light for the whole room, task light at the mirror, and softer accent or nighttime lighting where useful.
Whenever possible, evaluate finish samples under the actual bathroom lighting before final approval. If the room has daylight, look at the materials in morning and afternoon conditions as well. The goal is not to make the room as bright as possible; it is to make the light comfortable, accurate and useful at different times of day.
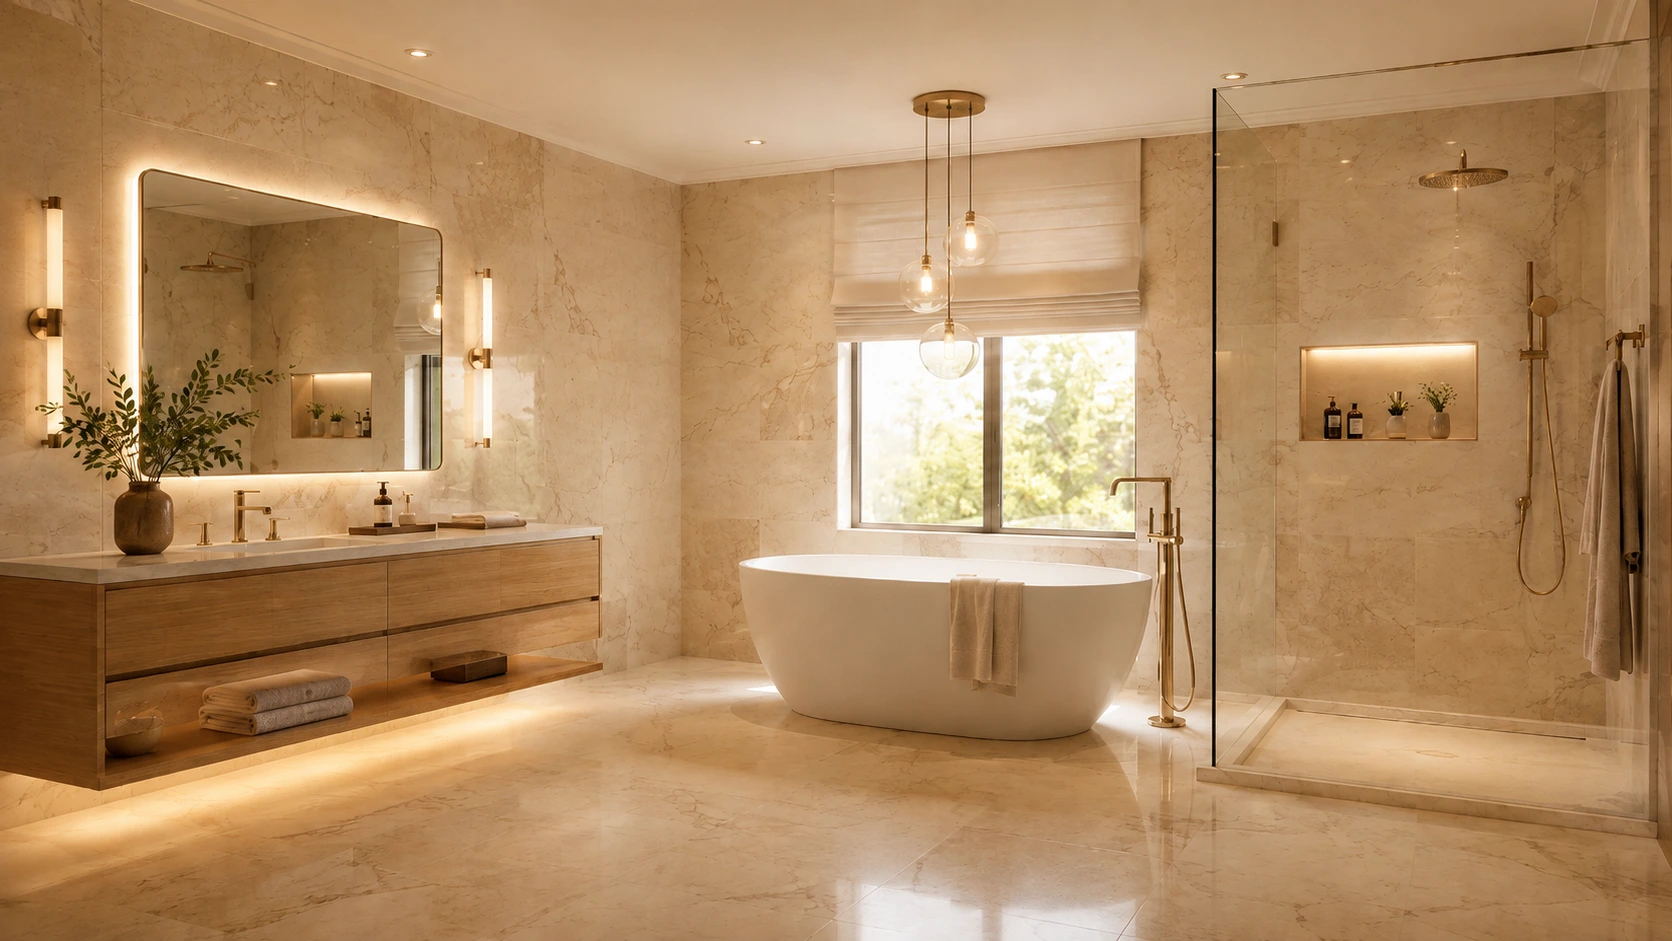
10. Specify Water-Efficient Fixtures Without Sacrificing the Design
Water efficiency is easiest to build into the project when fixtures are selected early. The U.S. EPA's WaterSense program independently certifies products that meet both efficiency and performance criteria.
WaterSense-labeled bathroom sink faucets use a maximum of 1.5 gallons per minute, compared with the 2.2 gpm federal standard referenced by EPA. WaterSense-labeled showerheads use no more than 2.0 gpm, and labeled toilets use 1.28 gallons per flush or less. These performance criteria make the label a useful filter when comparing fixtures across styles and price points.
Choose the plumbing configuration before finalizing countertop drilling, shower rough-in, wall backing and tile layout. This is especially important for wall-mounted faucets, multiple shower outlets, handhelds, body sprays, freestanding tubs and smart fixtures, where dimensions and valve locations can affect framing and waterproofing.
11. Design for Long-Term Usability and Accessibility
Accessibility does not need to look institutional. A well-detailed curbless shower, integrated bench, handheld shower, wider entry, good task lighting and thoughtfully placed grab bars can feel like premium design features while making the room easier to use.
Houzz's 2025 bathroom study found that 68% of homeowners considered special needs in their renovation, with many planning for future requirements rather than only current ones. NKBA's 2026 report similarly describes aging-in-place elements such as curbless entries, benches and grab bars as increasingly integrated into attractive mainstream bathroom design.
Even if full universal design is not part of the project, small decisions can create flexibility: improve floor traction, avoid unnecessary level changes, provide strong lighting, allow comfortable shower entry and consider reinforcement where future support hardware might be needed.
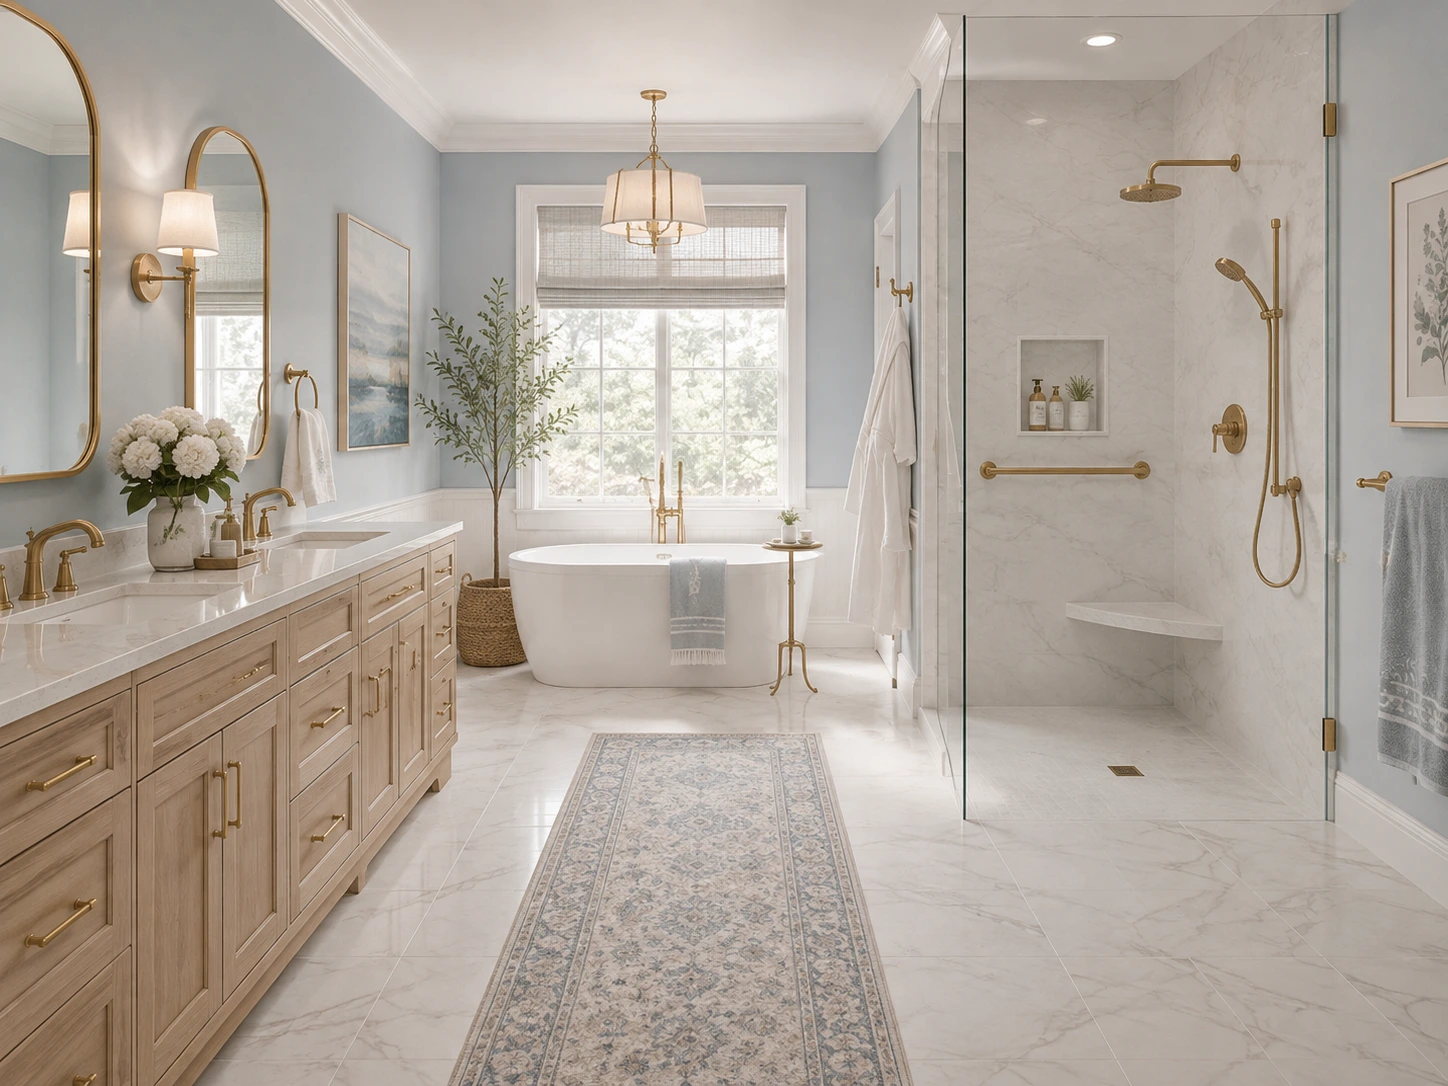
12. Balance Current Style with Materials You Can Live With
A bathroom is usually a long-term renovation, so permanent surfaces should not depend entirely on a short trend cycle. NKBA's 2026 research places transitional/timeless design at the top of expected styles, followed closely by organic/natural design. That combination explains why warm neutrals, stone-inspired surfaces, natural wood, soft greens, brushed finishes and restrained texture feel so relevant right now.
Use trends as inspiration rather than a checklist. Keep difficult-to-replace surfaces relatively versatile if you prefer flexibility, then add personality through the vanity color, decorative tile, mirrors, lighting, paint, artwork and textiles. If you genuinely love a bold tile enough to make it the long-term focal point, let it lead and simplify the surrounding materials.
13. Review Real Samples Together — in the Actual Light
Screens are useful for inspiration, but they are not reliable enough for final color coordination. Tile texture, stone movement, cabinet sheen and metal finish can all change dramatically with scale and lighting.
Before ordering, place the actual samples together and photograph the palette. Check them under daylight and the planned artificial lighting. Look for undertones that repeat across the group and make sure the visual weight feels balanced. Record exact product names, colors, finishes and lot information where applicable so the selections remain clear for purchasing and installation.
This is one reason a multi-category showroom can be valuable during a bathroom project: seeing flooring, tile, cabinetry and countertops side by side can reveal conflicts that are easy to miss when materials are chosen from separate websites or showrooms.
Common Bathroom Design Mistakes to Avoid
- Choosing tile before confirming the layout, shower dimensions and drain strategy.
- Treating tile or grout as the waterproofing system instead of specifying the complete wet-area assembly.
- Selecting bathroom floor tile only by color and ignoring intended use, traction and maintenance.
- Using too many statement materials in a small visual field.
- Choosing a double vanity automatically when counter space or storage would be more useful.
- Planning lighting after the mirror, cabinetry and electrical locations have already been fixed.
- Leaving ventilation as an afterthought.
- Ordering materials without viewing the real samples together.
- Ignoring future usability when a simple layout or blocking decision could provide more flexibility.
- Forgetting that fixture rough-ins, niche positions and tile layouts need to be coordinated before installation.
A Simple Bathroom Planning Order
- Define users, routines, priorities and budget range.
- Confirm the layout and major fixture locations.
- Select the wet-area construction/waterproofing approach with the project team.
- Choose the main floor and shower materials based on performance and design.
- Build the full palette with vanity, countertop, backsplash and metal finishes.
- Finalize plumbing fixtures, drain, glass and accessory locations.
- Plan storage and electrical needs inside/around cabinetry.
- Complete the lighting and ventilation plan.
- Review accessibility and long-term-use details.
- Approve real samples in the actual light before ordering.
Bringing the Bathroom Together
A beautiful bathroom is not created by the most expensive tile or the latest fixture. It comes from making the decisions in the right order and understanding how the hidden performance details support the visible design.
Start with the people who will use the room. Build a layout that feels comfortable. Treat waterproofing, drainage, traction and ventilation as essential parts of the design. Then coordinate flooring, shower tile, cabinetry, countertops, lighting and fixtures as one material story rather than separate purchases.
When those layers work together, the bathroom can feel calm, personal and polished while still being practical enough for everyday life.
Planning a Bathroom Remodel in Rockville, Maryland?
At Karpet King Design Center, homeowners can compare bathroom tile, flooring, cabinetry, vanities, countertops and coordinating finishes in one Rockville showroom. Seeing materials together makes it easier to catch undertone conflicts, understand scale and create a bathroom palette that feels intentional before products are ordered.
Our design team can help you narrow the material options around your room, style, maintenance priorities and project goals, whether you are refreshing finishes or planning a complete bathroom remodel.
Frequently Asked Questions
