
How to Choose Kitchen Cabinet Colors That Will Still Look Beautiful in 10 Years

How to Choose Kitchen Cabinet Colors That Will Still Look Beautiful in 10 Years

How to Choose Kitchen Cabinet Colors That Will Still Look Beautiful in 10 Years

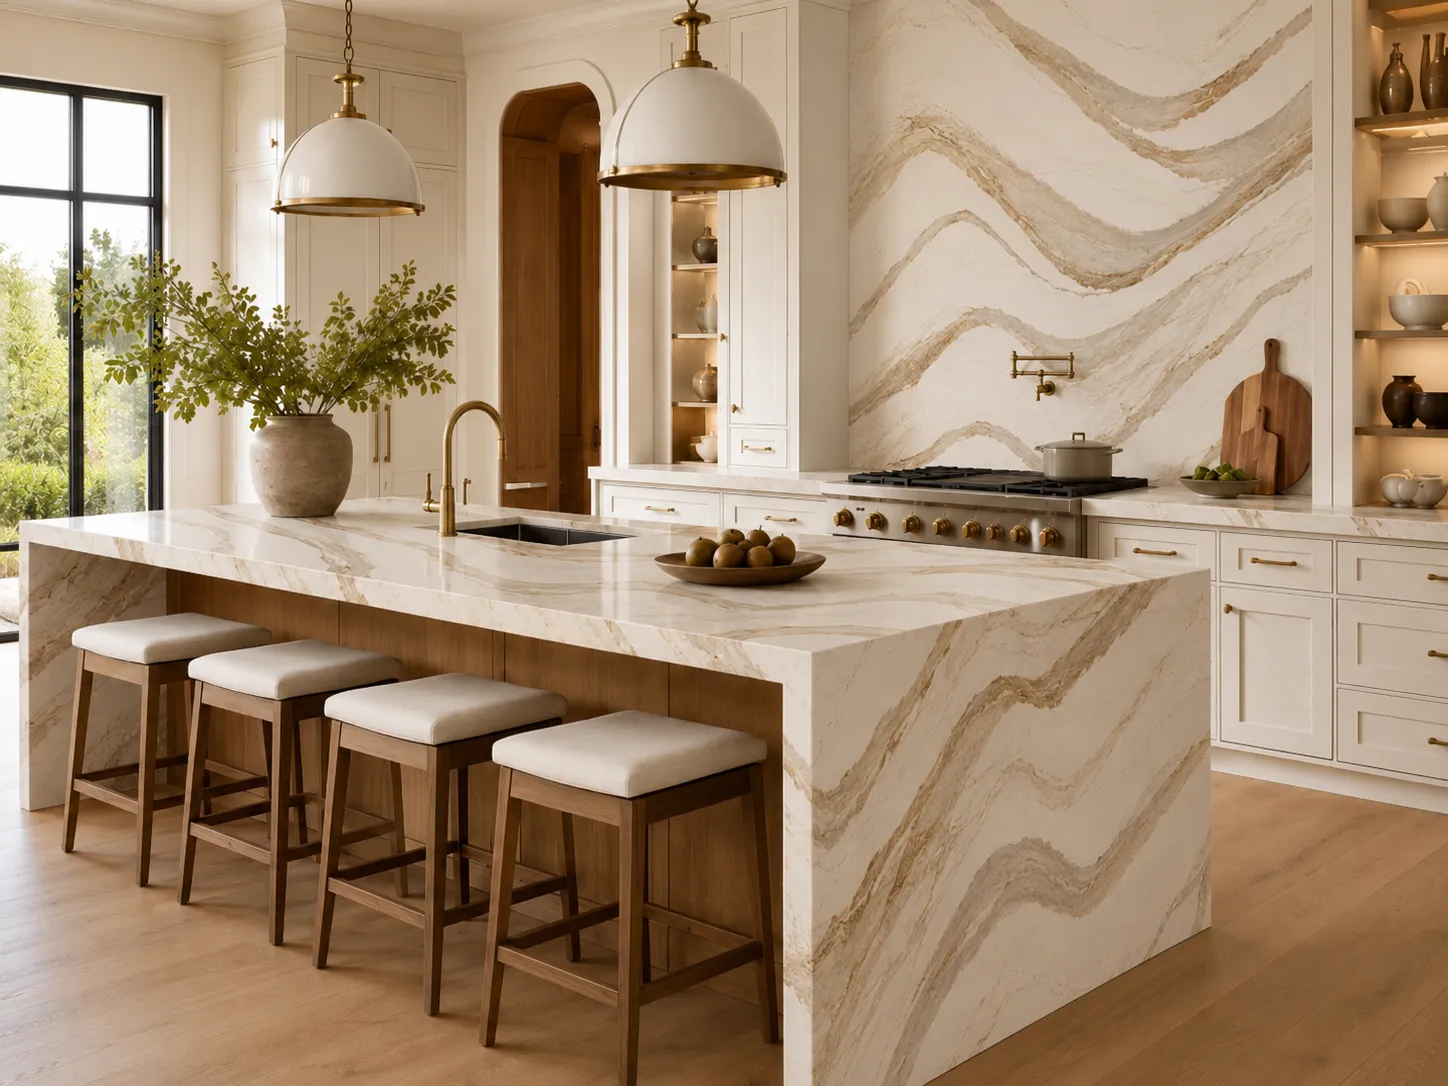
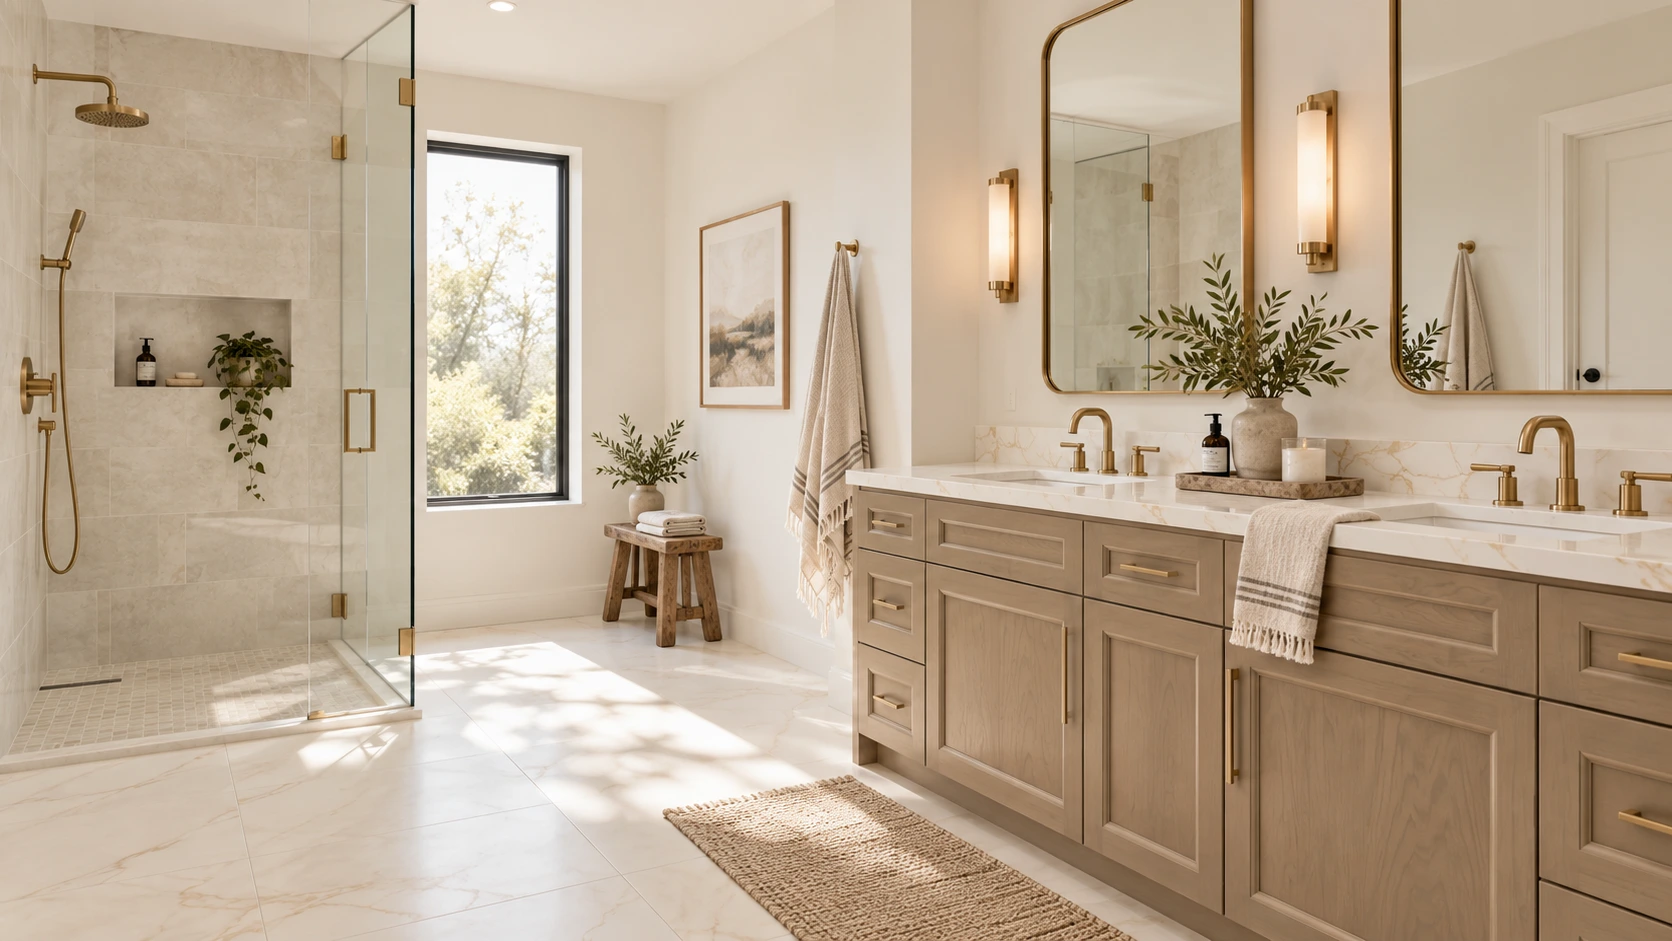
Warm off-white kitchen cabinets with a natural white oak island, creamy stone countertops, brass hardware, and light oak flooring.

Choosing a kitchen cabinet color can feel more permanent than almost any other design decision. Wall paint, lighting, and accessories can be replaced relatively easily, but cabinetry covers a large portion of the room and represents a significant investment.

The goal is not simply to choose the safest color or copy the latest kitchen trend. The goal is to select a finish that works with your home’s architecture, natural light, flooring, countertops, and overall atmosphere—so the kitchen continues to feel balanced and intentional years from now.

Before choosing your kitchen cabinetry, use the following principles to create a palette that feels current today but remains adaptable for the future.

What Current Kitchen Research Tells Us

According to the 2026 Houzz Kitchen Trends Study, wood became the most selected cabinet finish among renovating homeowners, narrowly moving ahead of white. Medium and light wood tones accounted for most wood selections, while off-white remained an important choice. Green also moved slightly ahead of gray.

The 2026 NKBA Kitchen Trends Report similarly points toward neutrals, greens, blues, natural materials, and wood grain. It also shows that homeowners and designers are increasingly using stronger colors on islands, backsplashes, and decorative features instead of applying them to every surface.

These findings do not mean that one color is guaranteed to remain timeless. They show a broader movement toward warmth, natural texture, and colors that feel connected to the rest of the home.

1. Start With the Permanent Materials

Do not begin with a cabinet paint swatch. Begin with the elements that will be the most expensive or difficult to replace:

  • Flooring
  • Countertops
  • Natural stone
  • Backsplash
  • Existing woodwork
  • Adjacent-room finishes
  • Large appliances that will remain

2. Understand Undertones

Two colors may both be called white, beige, gray, green, or blue but look completely different once installed. Common undertones include:

Yellow or cream

  • Pink or red
  • Green
  • Blue
  • Violet
  • Brown
  • Gray
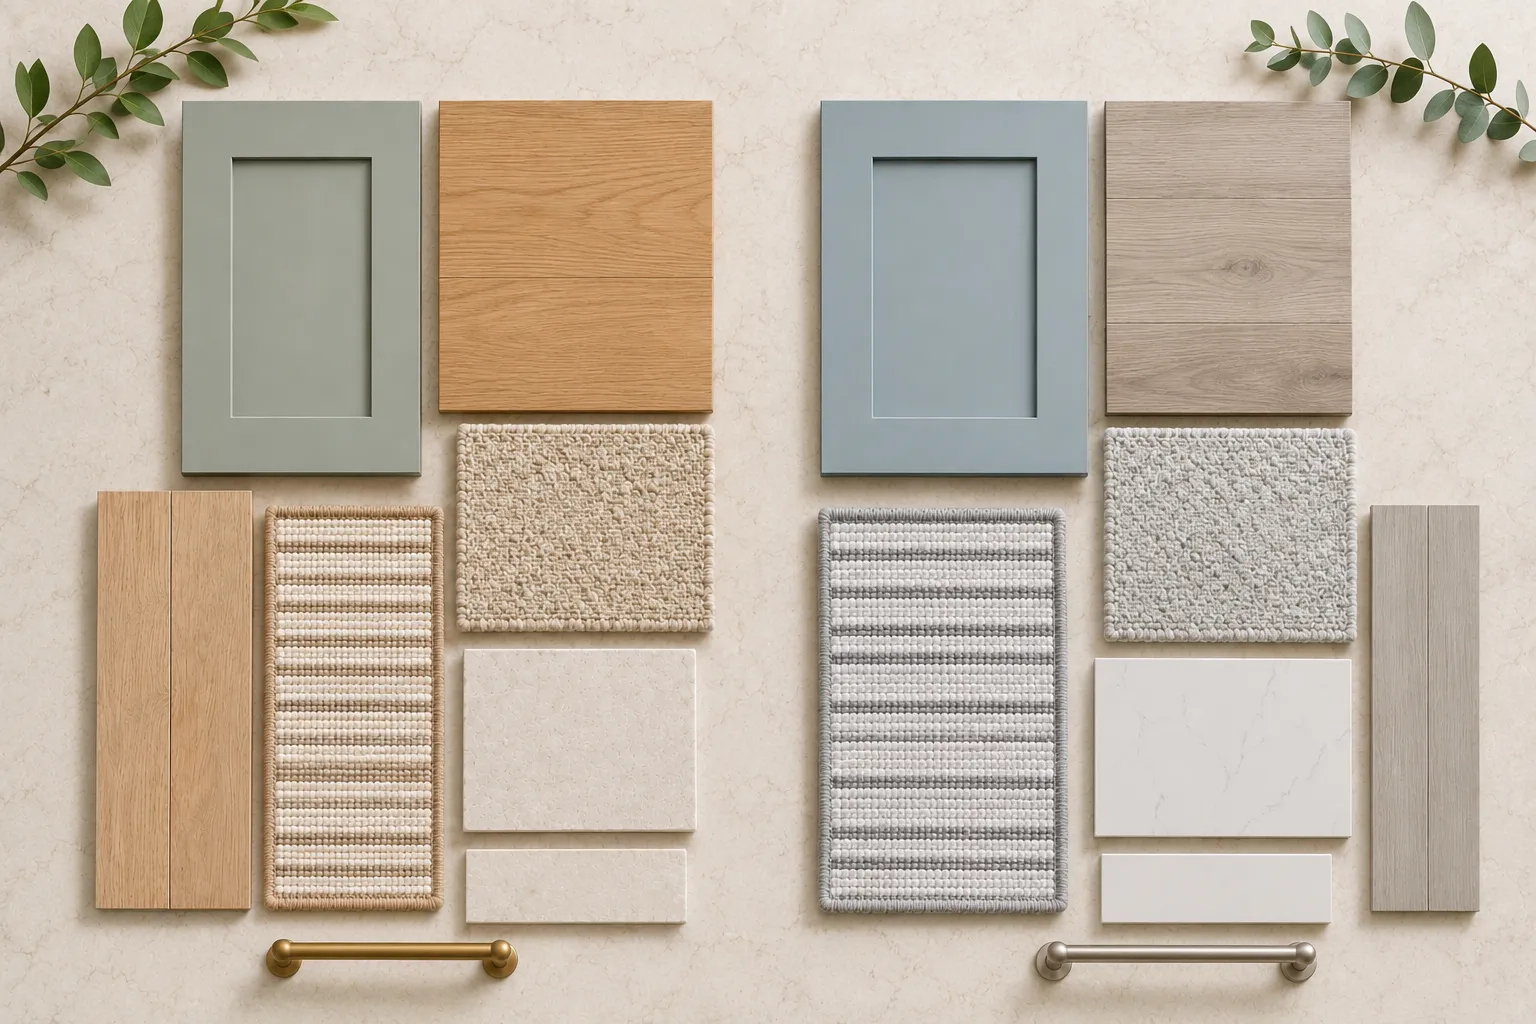
Cool white, warm white, and soft greige Shaker cabinet door samples displayed together on a light stone countertop.

3. Consider How You Want the Kitchen to Feel

Color psychology can be useful, but it should be treated as a guide rather than a strict formula.

A 2025 systematic review of 132 peer-reviewed studies found that people form recurring emotional associations with color. Lightness, saturation, and hue all influence those associations, but culture, personal experience, context, and surrounding materials also matter.

In a kitchen, these general impressions may help guide your selection:

Warm white and off-white

These colors can make a kitchen feel bright, gentle, and welcoming, especially when paired with warm flooring and natural materials.

Natural wood

Wood often creates a grounded, tactile, and organic atmosphere. The visible grain adds movement and character without requiring a strong painted color.

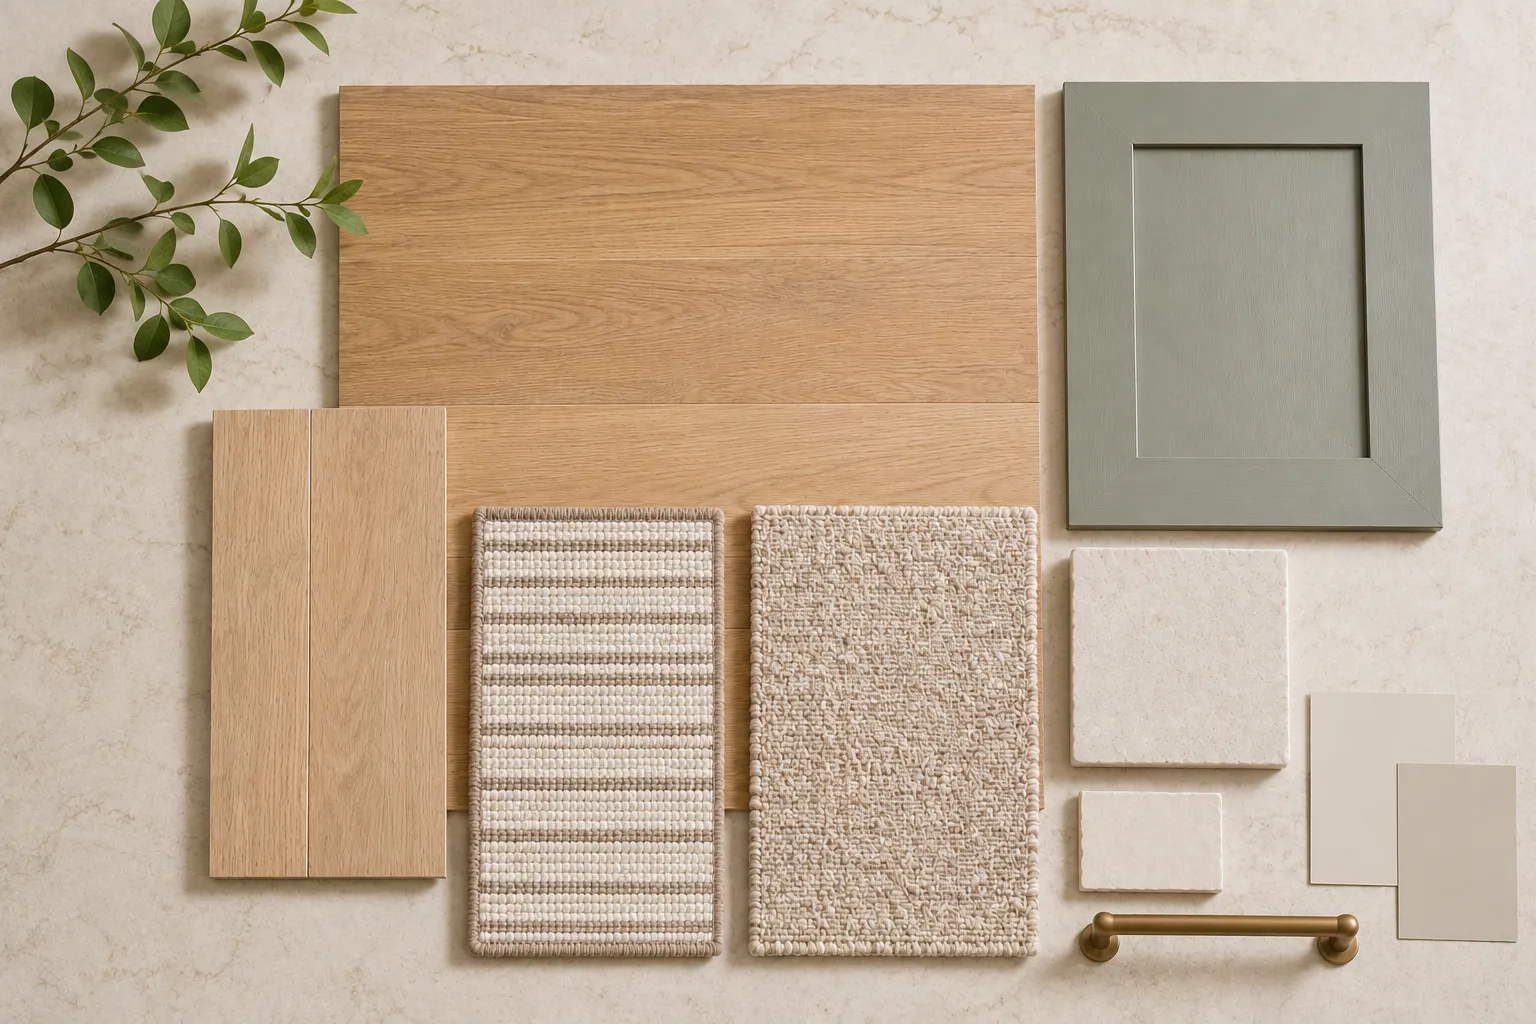
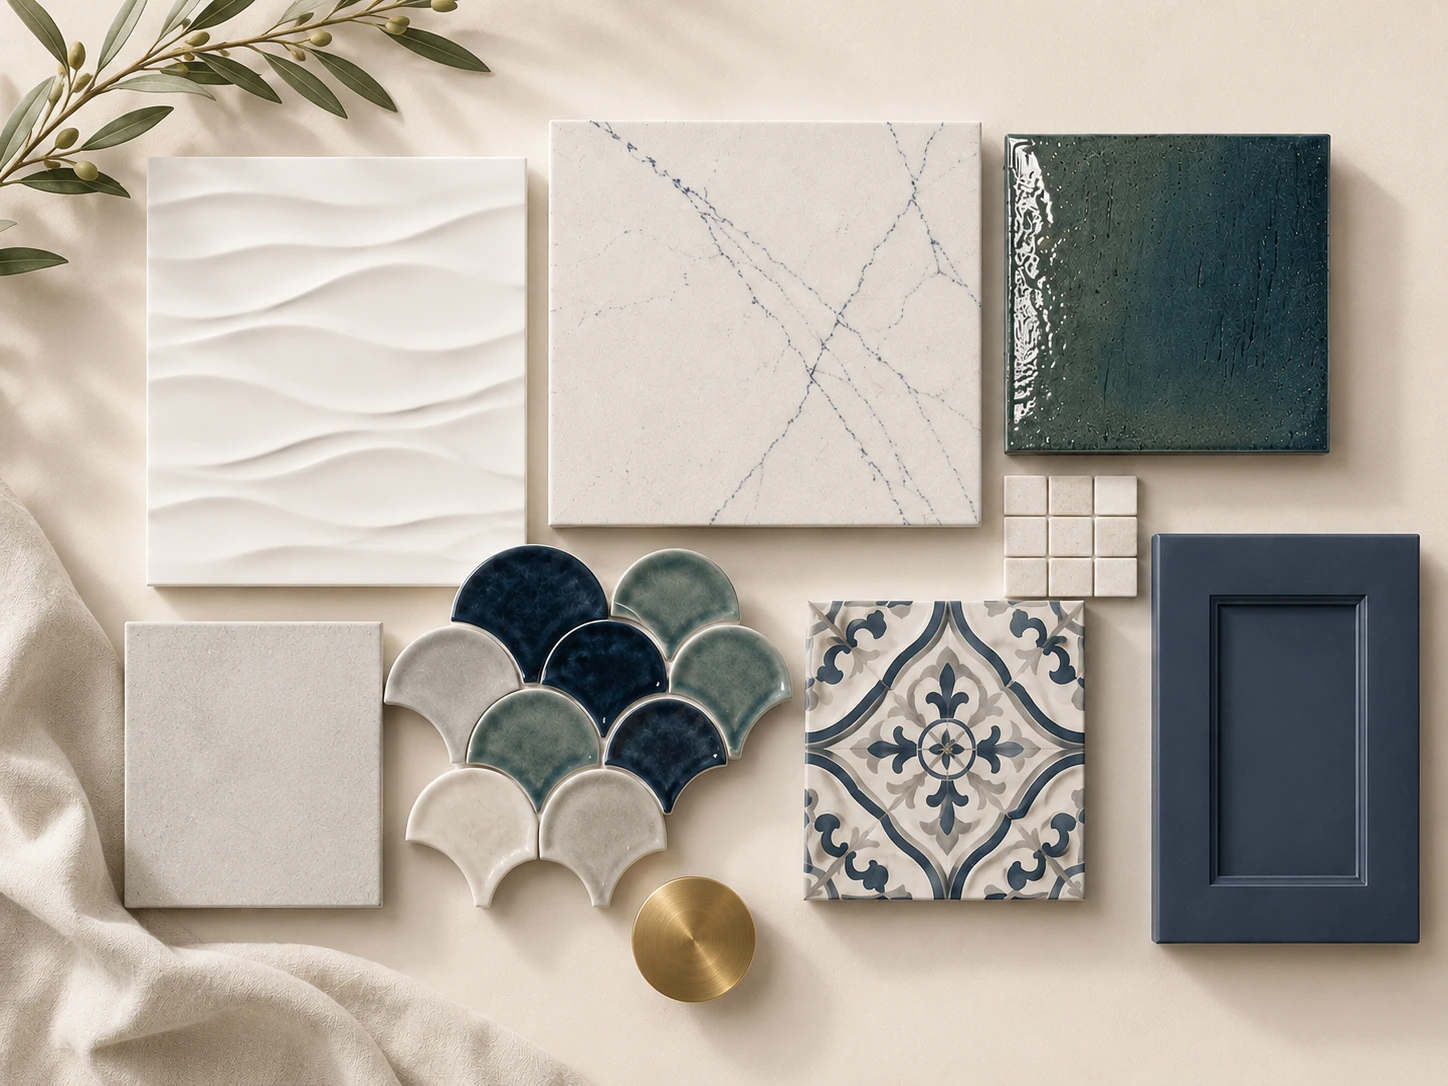
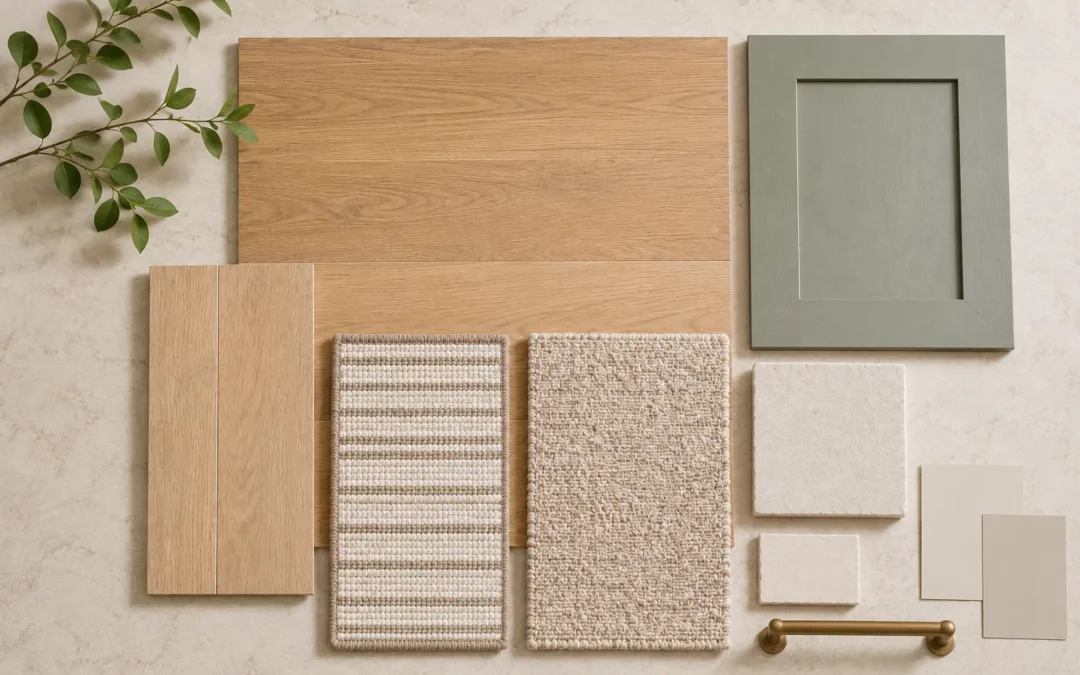
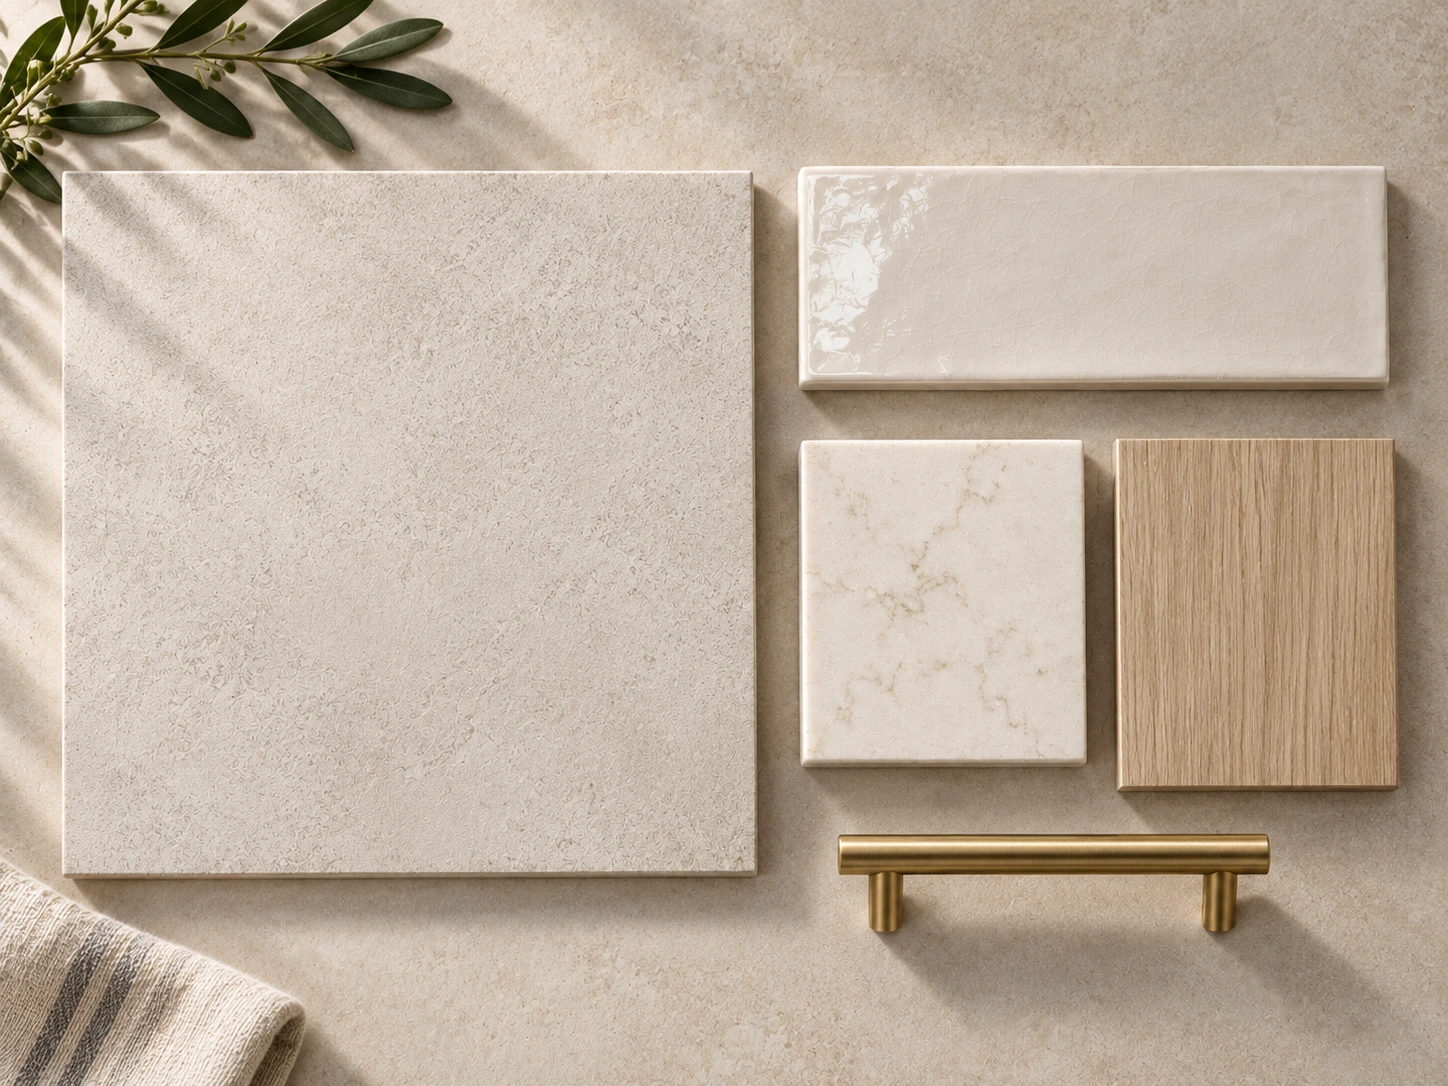
Warm white, muted sage green, and navy cabinet door samples coordinated with stone, tile, wood, and brass hardware.

Muted green

Sage, olive, and gray-green finishes can feel calm and connected to nature. A muted green usually adapts more easily than a highly saturated emerald or lime.

Blue and navy

Soft blue can feel relaxed and composed. Navy creates greater contrast, formality, and visual depth.

Taupe, mushroom, and greige

These shades can create a quiet, layered neutral palette without the sharpness of bright white or the coolness of traditional gray.

Burgundy and deep red

These colors feel warmer, richer, and more expressive. They may work best as a carefully coordinated statement rather than an automatic neutral.

Do not assume that every green will feel calming or every white will make a room feel larger. A bright, highly saturated green can feel energetic, while a gray-green sage may feel softer. The complete effect depends on lighting, surface area, saturation, and the materials around it.

Ask yourself:

How do I want this kitchen to feel during everyday life?

4. Choose a White That Works With the Home

White cabinetry can still be a long-lasting choice, but stark white is not always the most adaptable option.

Very bright or blue-white cabinetry may feel harsh in a room with:

    • Warm wood flooring
    • Creamy countertops
    • Limited natural light
    • Beige or warm-gray walls
    • Brass or bronze finishes

Softer alternatives include:

    • Warm white
    • Creamy white
    • Soft ivory
    • Off-white
    • Pale greige
    • Light mushroom

These finishes can keep the kitchen feeling bright while creating a softer relationship with wood, natural stone, and adjoining living spaces. Always compare the cabinet sample with the countertop. A cabinet may look warm white by itself but suddenly appear yellow, gray, or pink beside the chosen stone.

5. Treat Natural Wood as a Neutral

The final result depends on:

  • Wood species
  • Grain pattern
  • Stain color
  • Door profile
  • Hardware
  • Countertop
  • Backsplash
  • Overall architecture

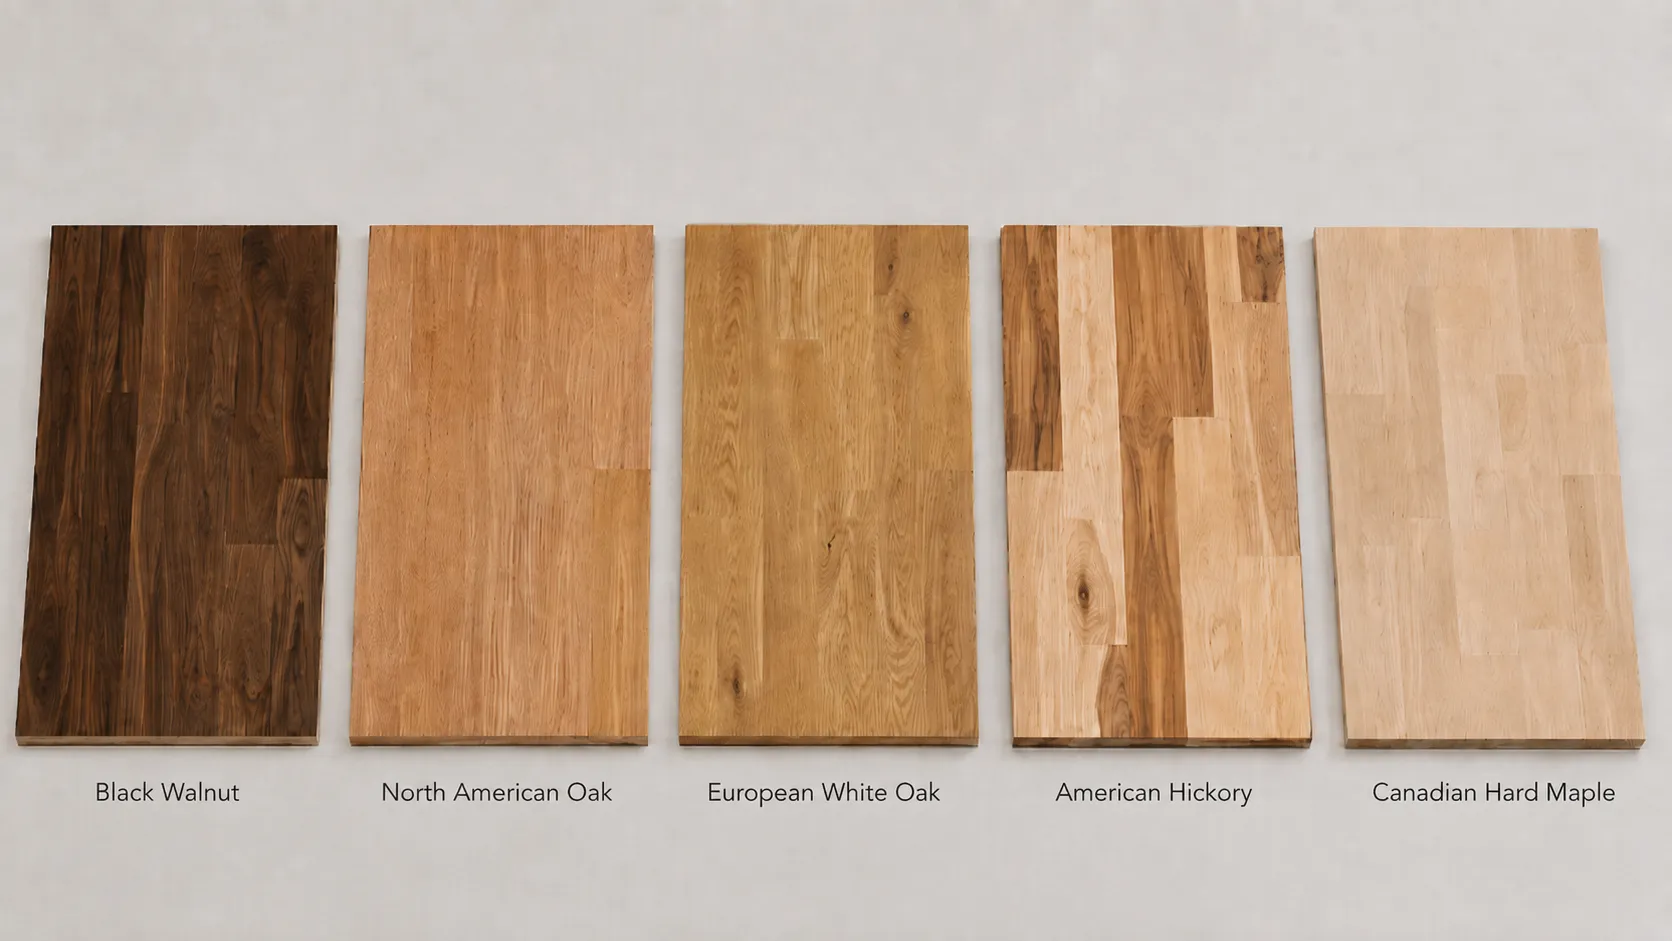
White oak, walnut, maple, and other wood finishes can work in modern, organic, transitional, and classic kitchens.

For a design that can adapt over time, consider:

  • Natural or lightly stained wood
  • Light or medium wood tones
  • Low-sheen finishes
  • Simple Shaker or flat-panel doors
  • Stains that allow the grain to remain visible

The 2026 NKBA report identified wood grain as a growing cabinet direction and white oak as the leading wood species among surveyed professionals.

Avoid choosing an intense stain only because it is temporarily popular. A finish that respects the wood’s natural character is often easier to coordinate with future paint, hardware, and décor changes.

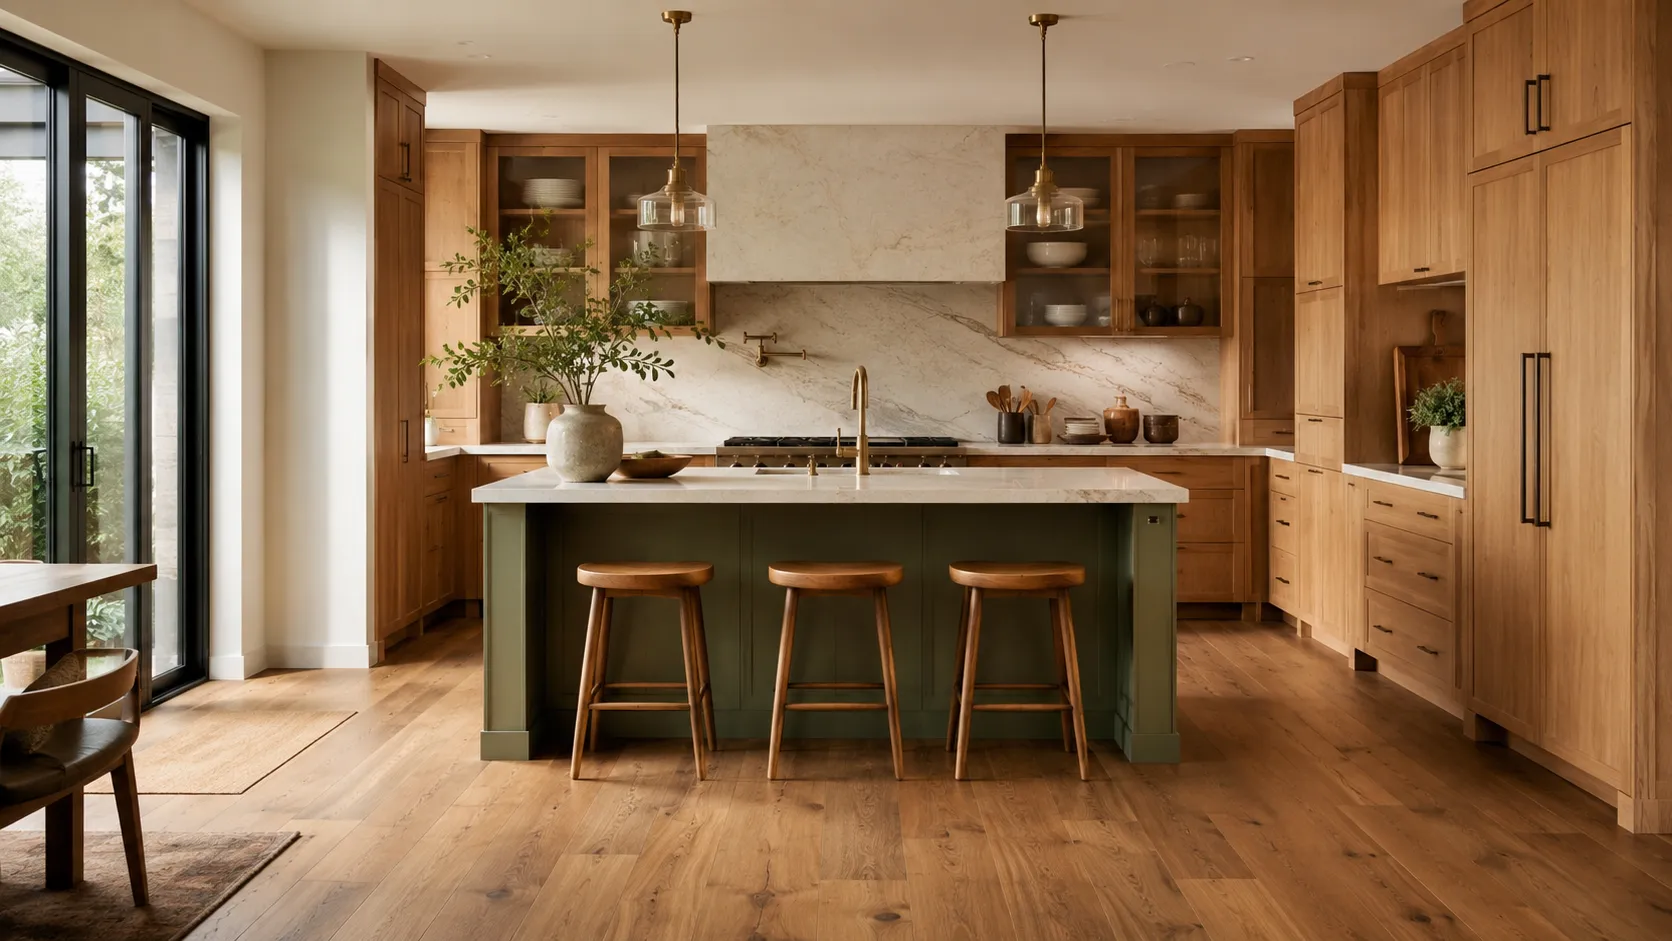
Close-up of light natural oak kitchen cabinets with subtle wood grain, creamy stone countertops, and brushed brass hardware.

6. Choose Grounded Colors Instead of Extremely Saturated Ones

Colorful cabinets can age beautifully when the shade is connected to natural materials and the architecture of the home.

Potentially adaptable colors include:

  • Muted sage
  • Deep olive
  • Soft blue-gray
  • Navy
  • Warm taupe
  • Mushroom
  • Deep burgundy

The difference is often in the saturation.

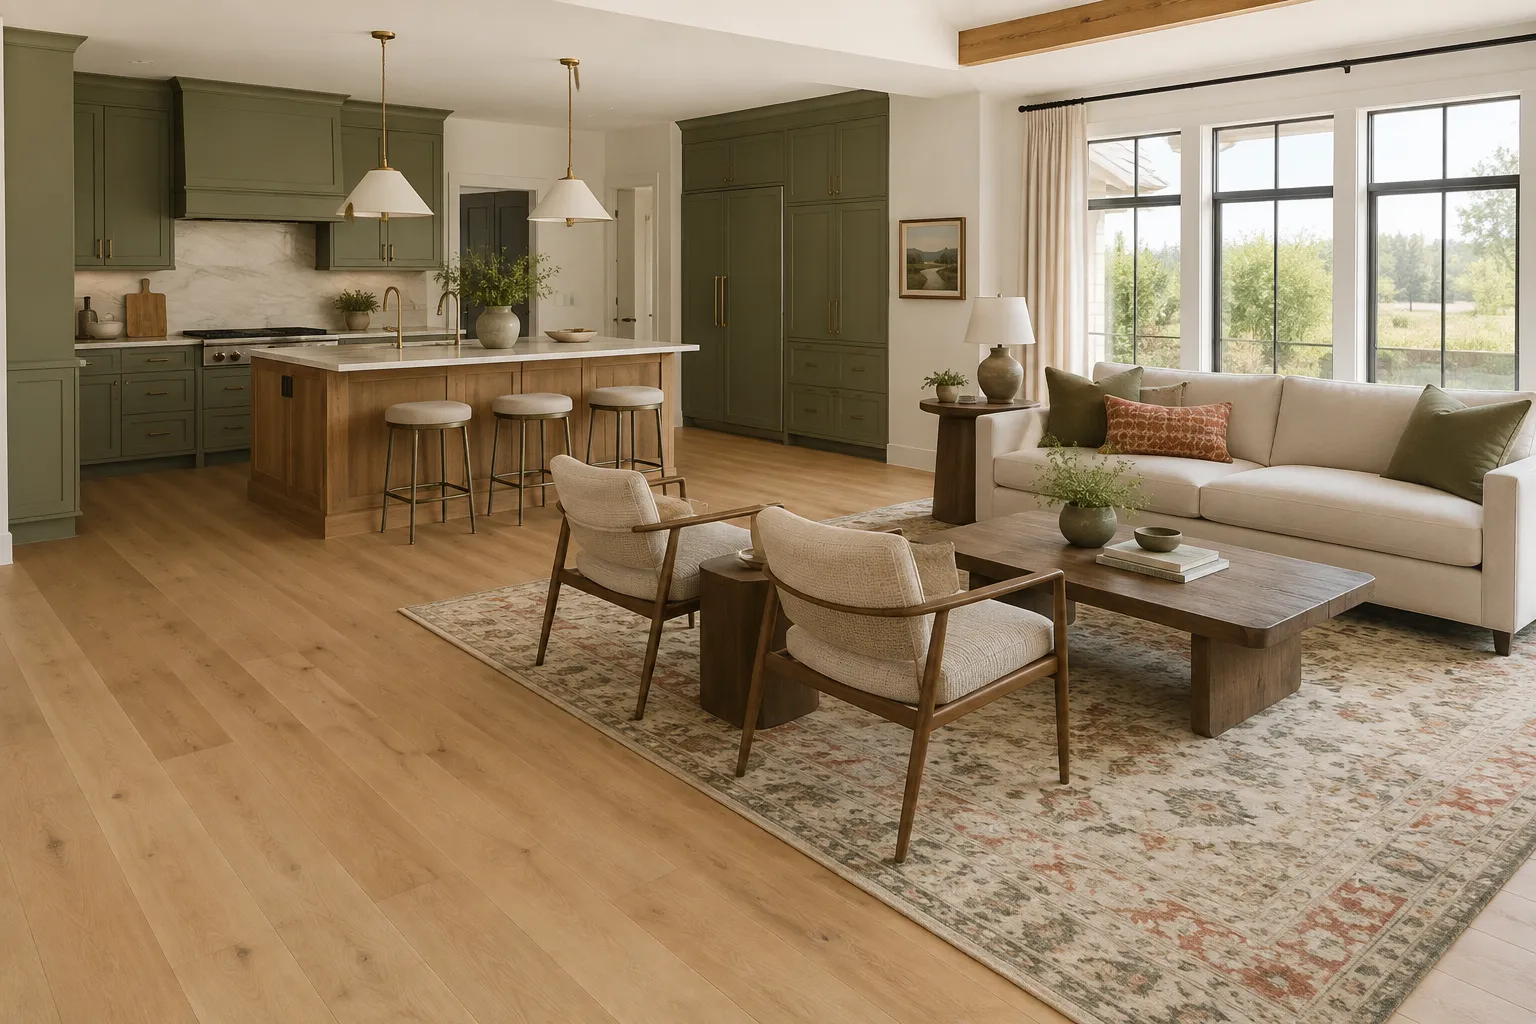
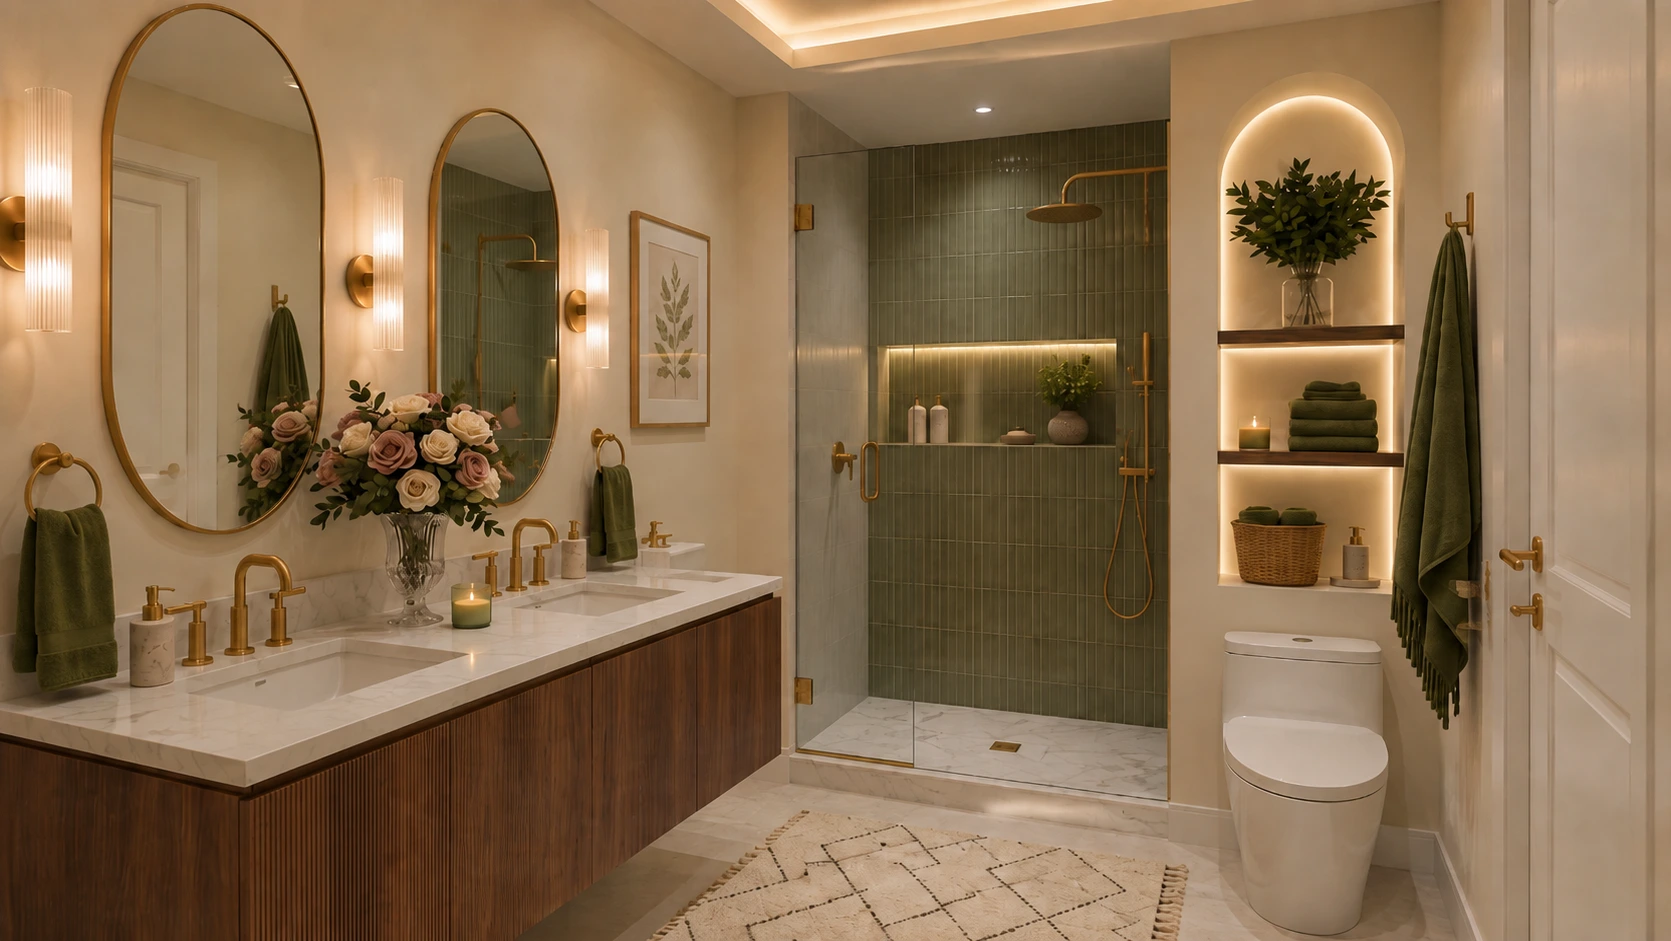
Timeless olive green Shaker kitchen cabinets with a natural wood island, white stone countertops, brass hardware, warm lighting, and oak flooring.

A gray-green sage may behave almost like a neutral. A bright, highly saturated green may dominate the entire room and limit future changes.

Before ordering colorful cabinetry, ask:

  • Does it coordinate with the flooring?
  • Does it appear in the countertop veining?
  • Does it work in both daylight and artificial light?
  • Can the hardware be changed later without disrupting the palette?
  • Would I still choose it if it were not currently trending online?

7. Use a Contrasting Island Strategically

A two-tone kitchen can feel custom and layered, but the island should relate to another element in the room.

Successful combinations may include:

  • Warm white cabinets with a natural oak island
  • Navy cabinets with a warm white island
  • Muted green cabinets with a light wood island
  • Off-white cabinets with a taupe island
  • Natural wood cabinets with a soft painted island

The contrasting color might connect with the floor, countertop veining, hardware, nearby furniture, or architectural details.

Current NKBA research suggests that islands are one of the leading locations for statement color, making them a practical way to introduce personality without applying a bold finish throughout the entire kitchen.

When developing a two-tone palette, treat the cabinets, island, flooring, countertops, and backsplash as one coordinated kitchen remodeling design, not as separate purchases.

Timeless olive green Shaker kitchen cabinets with a natural wood island, white stone countertops, brass hardware, warm lighting, and oak flooring.

8. Test Large Samples in the Actual Lighting

Cabinet colors can change dramatically throughout the day. A finish may appear: 

  • Darker in a north-facing room
  • Warmer in afternoon sunlight
  • Greener beside warm wood
  • Bluer under cool LED bulbs
  • Flatter in a room with limited daylight
  • More intense across an entire wall than on a small sample

Whenever possible, review a full cabinet-door sample rather than a small paint chip.

Place it vertically, because cabinet doors will not be viewed flat on a table. Observe it in:

  • Morning daylight
  • Afternoon light
  • Evening light
  • Ceiling lighting
  • Pendant lighting
  • Under-cabinet lighting

Natural and task lighting are major considerations in current kitchen planning, so the cabinet finish should be evaluated under the lighting that will actually be used in the completed room.

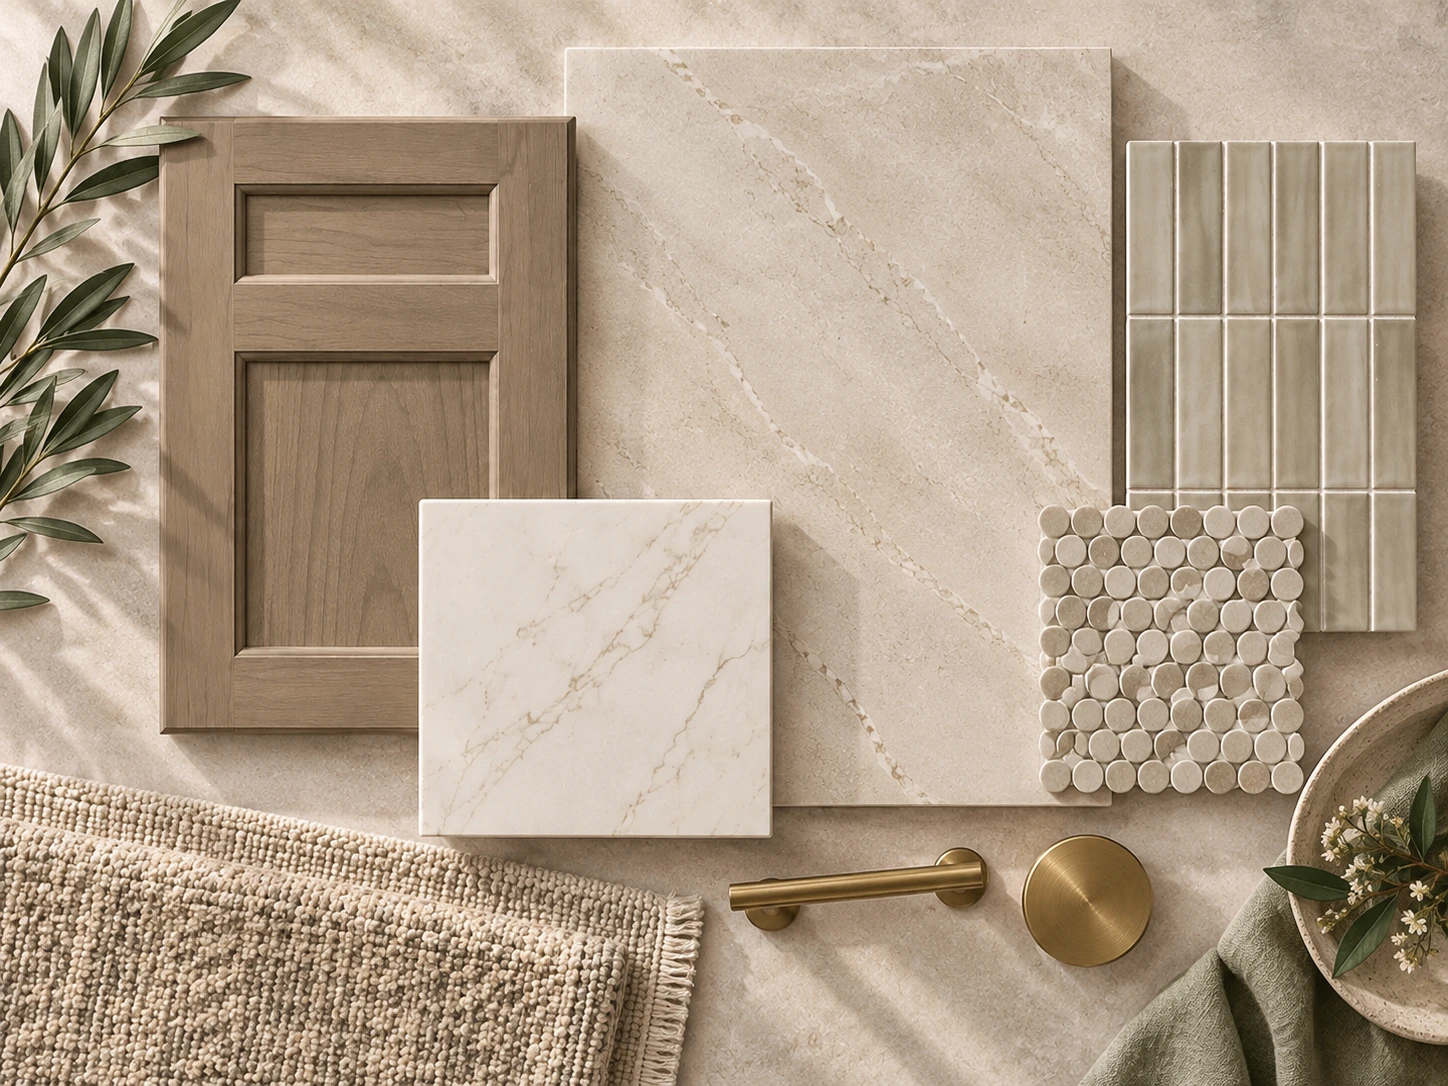
During an interior design consultation, cabinet doors can be compared with stone, flooring, tile, paint, and hardware before the order is placed. Karpet King’s consultation service specifically includes color-palette development and coordination among these materials.

9. Think Beyond the Current Trend Cycle

Trends can provide inspiration, but they should not be the only reason behind a permanent design decision.

Ask yourself:

  • Does this color suit the age and architecture of the home?
  • Does it work with the permanent materials?
  • Would I still like it if I stopped seeing it on social media?
  • Can I refresh the kitchen later with different hardware or wall paint?
  • Does the color support the atmosphere I want?
  • Does it connect naturally with adjoining rooms?

A timeless kitchen does not have to be white, beige, or conservative. A navy, green, wood, or burgundy kitchen can remain beautiful when the color has a clear relationship with the rest of the design.

10. Consider the Material Beneath the Finish

The same color can appear different depending on whether it is applied to:

  • Solid wood
  • MDF
  • Wood veneer
  • Plywood
  • Another engineered material

Painted MDF may create a very smooth, consistent surface. Painted solid wood may retain subtle grain and may show fine movement at the joints over time.

Stained cabinetry behaves differently because the wood species affects how the stain is absorbed. The same stain may look warmer, darker, or more varied on oak, maple, cherry, or walnut.

Common Cabinet-Color Mistakes

Choosing from a small swatch

A small sample cannot show how a color will feel across an entire wall of cabinetry. Request the largest sample available.

Ignoring the flooring

Cabinets and floors occupy large visual areas. Conflicting undertones can make the entire kitchen feel disconnected.

Selecting the countertop afterward

Cabinetry and countertops should be developed together. Neither should become an afterthought.

Copying a kitchen with different lighting

A deep green kitchen shown in a large, sunny home may look very different in a smaller room with limited daylight.

Using too many competing finishes

Cabinets, island, flooring, stone, tile, wall paint, hardware, and lighting should not all compete for attention. Decide which element will lead the design.

Choosing a trend instead of a complete palette

A fashionable cabinet color does not guarantee a successful kitchen. Coordination is more important than popularity.

For broader project planning, read How to Plan a Kitchen Remodel Without Stress in the DMV Area.

Showroom Checklist: What to Bring

Bring the following items when comparing cabinet colors:

  • Flooring sample
  • Countertop or stone sample
  • Backsplash ideas
  • Photos of the kitchen in daylight
  • Photos of adjoining rooms
  • Approximate measurements
  • Inspiration images
  • Existing finishes that must remain
  • Appliance colors
  • Preferred hardware finishes

At the showroom:

  • View cabinet doors vertically
  • Compare warm and cool versions of the same color
  • Place the cabinet, countertop, flooring, and hardware together
  • Look at the samples under more than one light source
  • Ask about the cabinet material and finish
  • Ask whether touch-up products are available
  • Photograph the complete combination for later review

A cabinet color that remains beautiful for years is not necessarily the palest or safest option. It is the color that works with the home’s architecture, permanent materials, lighting, and the emotional atmosphere you want the kitchen to create.

Current research points toward natural wood, softened whites, grounded neutrals, greens, and blues. However, long-term satisfaction depends more on careful coordination than on choosing the most popular color of the year.

Compare real cabinet doors with your flooring, countertop, backsplash, and hardware before making the final decision. The goal is not to find one universally timeless color. It is to create a kitchen that feels personal, balanced, and adaptable.

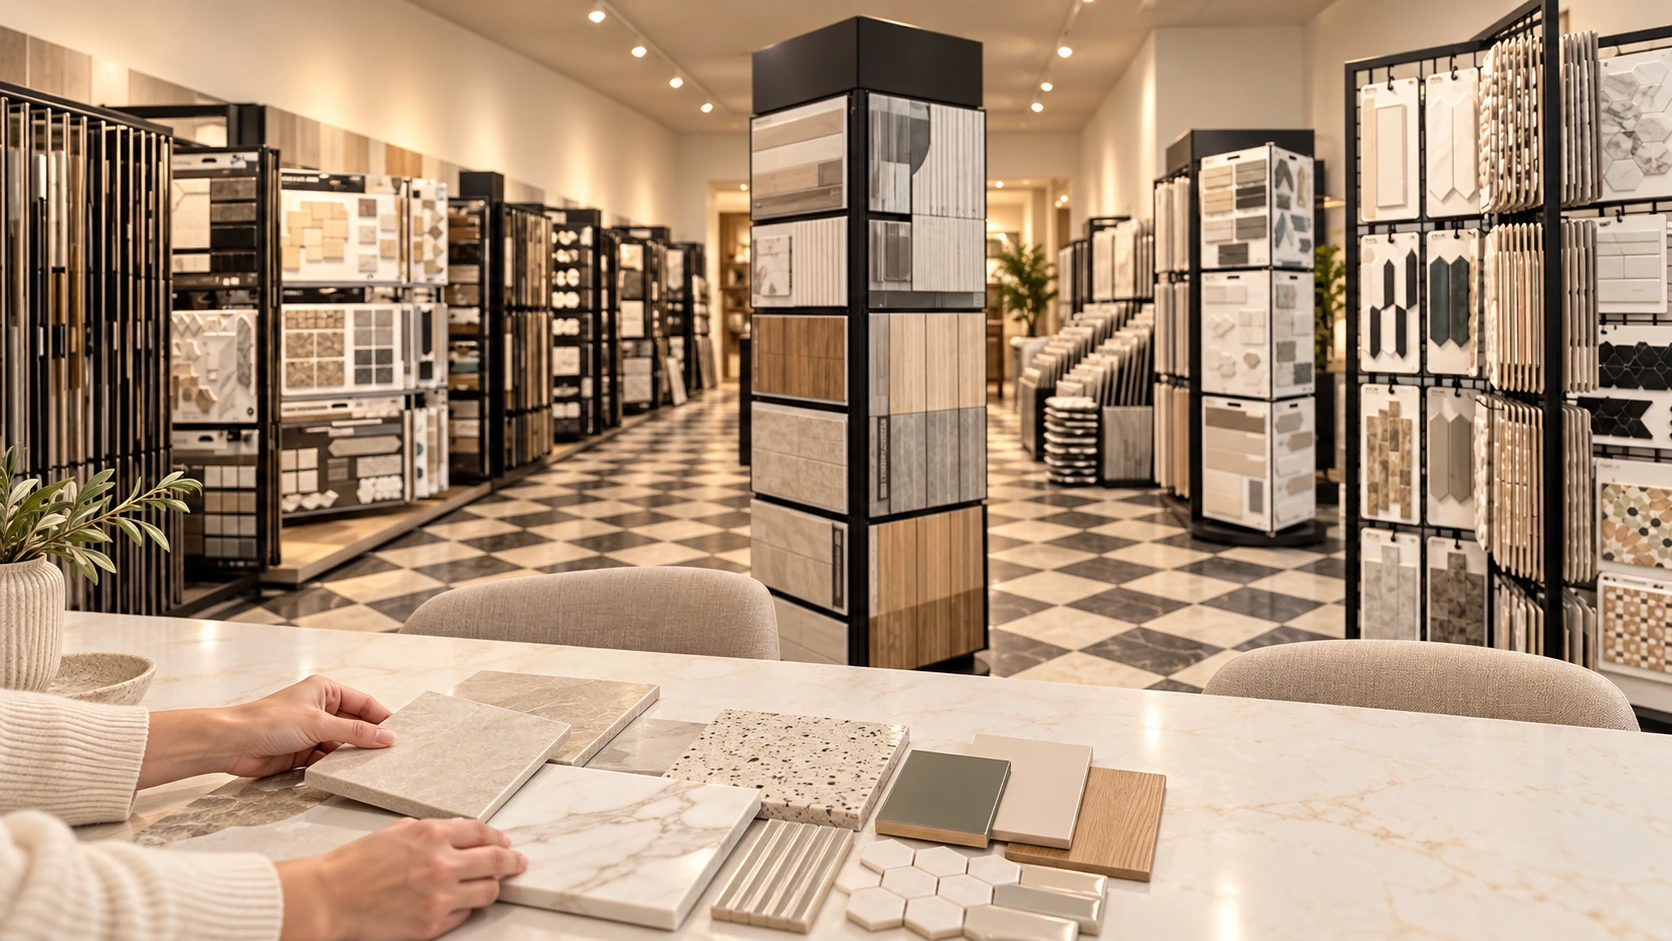
Visit our Rockville showroom to compare cabinetry, countertops, flooring, tile, and hardware in person.

Book an interior design consultation at Karpet King Design Center in Rockville, Maryland.

Kitchen cabinet showroom featuring white, blue, and sage green display cabinets, countertop samples, sinks, and a central hardware selection tower.

How to Choose Kitchen Cabinet Colors That Will Still Look Beautiful in 10 Years

How to Choose Kitchen Cabinet Colors That Will Still Look Beautiful in 10 Years Choosing a kitchen cabinet color can feel more permanent than almost any other design decision. Wall paint, lighting, and accessories can be replaced relatively easily, but cabinetry...

The Foundation of Proper Carpet Care

The Foundation of Proper Carpet Care A new carpet is more than just a decorative touch; it’s a significant investment in your home’s comfort and value. Like any valuable asset, it requires consistent attention to maintain its appearance and extend its life. Proper...

The Foundation of Proper Carpet Care

The Foundation of Proper Carpet Care

The Foundation of Proper Carpet Care

A new carpet is more than just a decorative touch; it’s a significant investment in your home’s comfort and value. Like any valuable asset, it requires consistent attention to maintain its appearance and extend its life. Proper maintenance is not about occasional, intense cleaning sessions. Instead, it’s about building simple, regular habits that protect the fibers from the inside out. This proactive approach is the core of our carpet maintenance guide.

Beyond aesthetics, clean carpets play a role in your home’s health. Carpet fibers act as a passive air filter, trapping dust, pollen, and other allergens that would otherwise circulate in the air. For families in the Washington, D.C. area, where seasonal allergies can be a concern, this is a notable benefit. However, for that filter to work effectively, it needs to be cleaned out. A consistent routine removes these trapped particles, contributing to better indoor air quality. The most effective carpet care tips focus on preventing dirt from embedding deep into the pile, which is what causes premature wear and dullness.

Mastering Your Weekly Vacuuming Routine

The single most important task for preserving your carpet is regular vacuuming. But not all vacuuming is created equal. The difference between a quick pass and a thorough cleaning lies in the technique. For the best results, use a quality vacuum with a beater bar or rotating brush, which agitates the carpet pile to loosen embedded dirt. If your vacuum has an adjustable height setting, make sure it’s set correctly for your carpet type to allow for optimal airflow and agitation.

When you learn how to clean carpets the right way, you protect the fibers from the abrasive effects of ground-in soil. Follow these steps for a more effective routine:

  1. Go Slow.Rushing over the surface only picks up the top layer of dust. Slow, deliberate passes allow the vacuum’s suction and beater bar to pull dirt from deep within the pile.
  2. Work in a Grid.Vacuum the entire room in one direction, such as north to south. Then, repeat the process going in the perpendicular direction, east to west. This crisscross pattern ensures the bristles clean each fiber from all sides.

This method works wonders on all types of flooring, including the diverse selection of carpets we offer for modern homes. How often should you vacuum? It depends on the foot traffic in each room. Here’s a simple schedule to follow.

Traffic Level Area Examples Recommended Frequency Rationale
High-Traffic Hallways, entryways, family rooms Daily or every other day Prevents abrasive dirt and soil from being ground into carpet fibers, which causes premature wear.
Medium-Traffic Bedrooms, home offices Twice a week Manages accumulation of dust, hair, and allergens without the intense foot traffic of main areas.
Low-Traffic Guest rooms, formal dining rooms Once a week Maintains cleanliness and prevents dust from settling deep into the pile in rarely used spaces.

This schedule provides a practical framework for homeowners to protect their investment. Adjust frequency based on household factors like pets, children, or seasonal pollen levels in the D.C. metro area.

Quick Responses to Spills and Stains

Even with the most careful habits, spills happen. That moment when a glass of red wine tips over or a plate of spaghetti lands face down can feel like a disaster, but your immediate response makes all the difference. The key to effective stain removal for carpets is acting quickly before the spill has time to set into the fibers.

Your first instinct might be to scrub furiously, but that’s the worst thing you can do. Rubbing can untwist the carpet fibers, permanently altering their texture and pushing the stain deeper. Instead, blot, don’t rub. Grab a clean, white cloth, press it firmly onto the spill, and lift. Repeat this process with fresh sections of the cloth, working from the outside edge of the spill inward to prevent it from spreading. For many common water-based spills, a simple solution of a few drops of clear dish soap mixed with water is effective. However, for tougher stains like oil or ink, a commercial carpet stain remover designed for your carpet type may be necessary.

To avoid making a bad situation worse, be mindful of these common mistakes:

  • Using colored or printed cloths that can transfer dye onto the carpet.
  • Applying heat to protein-based stains like milk or eggs, which can cook them into the fibers.
  • Using harsh chemicals like bleach or ammonia, which can cause permanent discoloration or damage.
  • Over-wetting the area, which can damage the carpet backing and subfloor.

For more complex situations, it’s always wise to consult a reliable source. According to the Carpet and Rug Institute, different spills require specific treatments to avoid setting the stain, and their website offers detailed guidance for homeowners.

Protecting High-Traffic and Furniture Areas

While cleaning addresses dirt that’s already there, proactive protection is just as important for ensuring long-lasting carpets. The goal is to minimize wear and tear before it becomes visible. This starts at your front door. Place durable doormats at every entrance to your home to trap dirt, mud, and moisture from shoes before they ever reach your carpet.

Inside, think in layers. Hallways, family rooms, and other high-traffic paths are the first to show wear. You can shield these areas by strategically placing runners or using some of our beautiful area rugs over the main carpet. This not only protects the fibers but also adds a new design element to the room. Heavy furniture is another source of damage, as its weight can crush the carpet pile and leave permanent indentations. Use furniture coasters under the legs of sofas, tables, and cabinets to distribute the weight more evenly.

A simple but effective habit is to rearrange your furniture layout every six to twelve months. This small change alters foot traffic patterns, giving previously compressed areas a chance to recover. Finally, consider adopting a “no-shoes” policy inside. It’s a simple cultural shift for your household that dramatically reduces the amount of abrasive dirt tracked onto your floors, which is one of the primary causes of fiber breakdown over time.

Scheduling Professional Deep Cleaning

Your weekly vacuuming routine is essential for surface-level maintenance, but it can’t do everything. Over time, oils, sticky residues, and deep-seated allergens accumulate in your carpet in ways that even the best residential vacuums can’t handle. This is where professional deep cleaning comes in. It’s not a replacement for regular vacuuming but a necessary supplement to it.

Professionals typically use a method called hot water extraction, often referred to as steam cleaning. This process injects a solution of hot water and specialized cleaning agents deep into the carpet pile, dislodging stubborn grime and allergens. A powerful vacuum then extracts the water, solution, and dirt, leaving your carpets thoroughly clean and refreshed. As you consider professional services, remember that our team is here to help with more than just sales, offering expert installation and refinishing support.

For an average household, we recommend scheduling a professional deep cleaning every 12 to 18 months. However, if your home in the D.C. area includes pets, children, or individuals with allergies, you may want to increase the frequency to every 6 to 9 months. As the Environmental Protection Agency (EPA) suggests, this type of cleaning can significantly improve indoor air quality by removing trapped pollutants.

Tailoring Maintenance to Your Carpet Type

Finally, a complete carpet maintenance guide acknowledges that not all carpets are created equal. The material your carpet is made from influences the best way to care for it. For example, natural fibers like wool are incredibly durable and resilient, but they are sensitive to high-pH or alkaline cleaners, which can damage the fibers.

In contrast, synthetic fibers like nylon and polyester are known for their exceptional stain resistance and durability, making them a great choice for active households. While they are more forgiving, it’s still important to use products designed for synthetic carpets to maintain their appearance and texture. The best approach is always to start with the manufacturer’s care instructions. When in doubt, consulting a flooring expert is the safest path. If you have specific questions about your flooring, please don’t hesitate to contact us for professional advice tailored to your home.